How to Make Your Own Stickers
Why Make Stickers
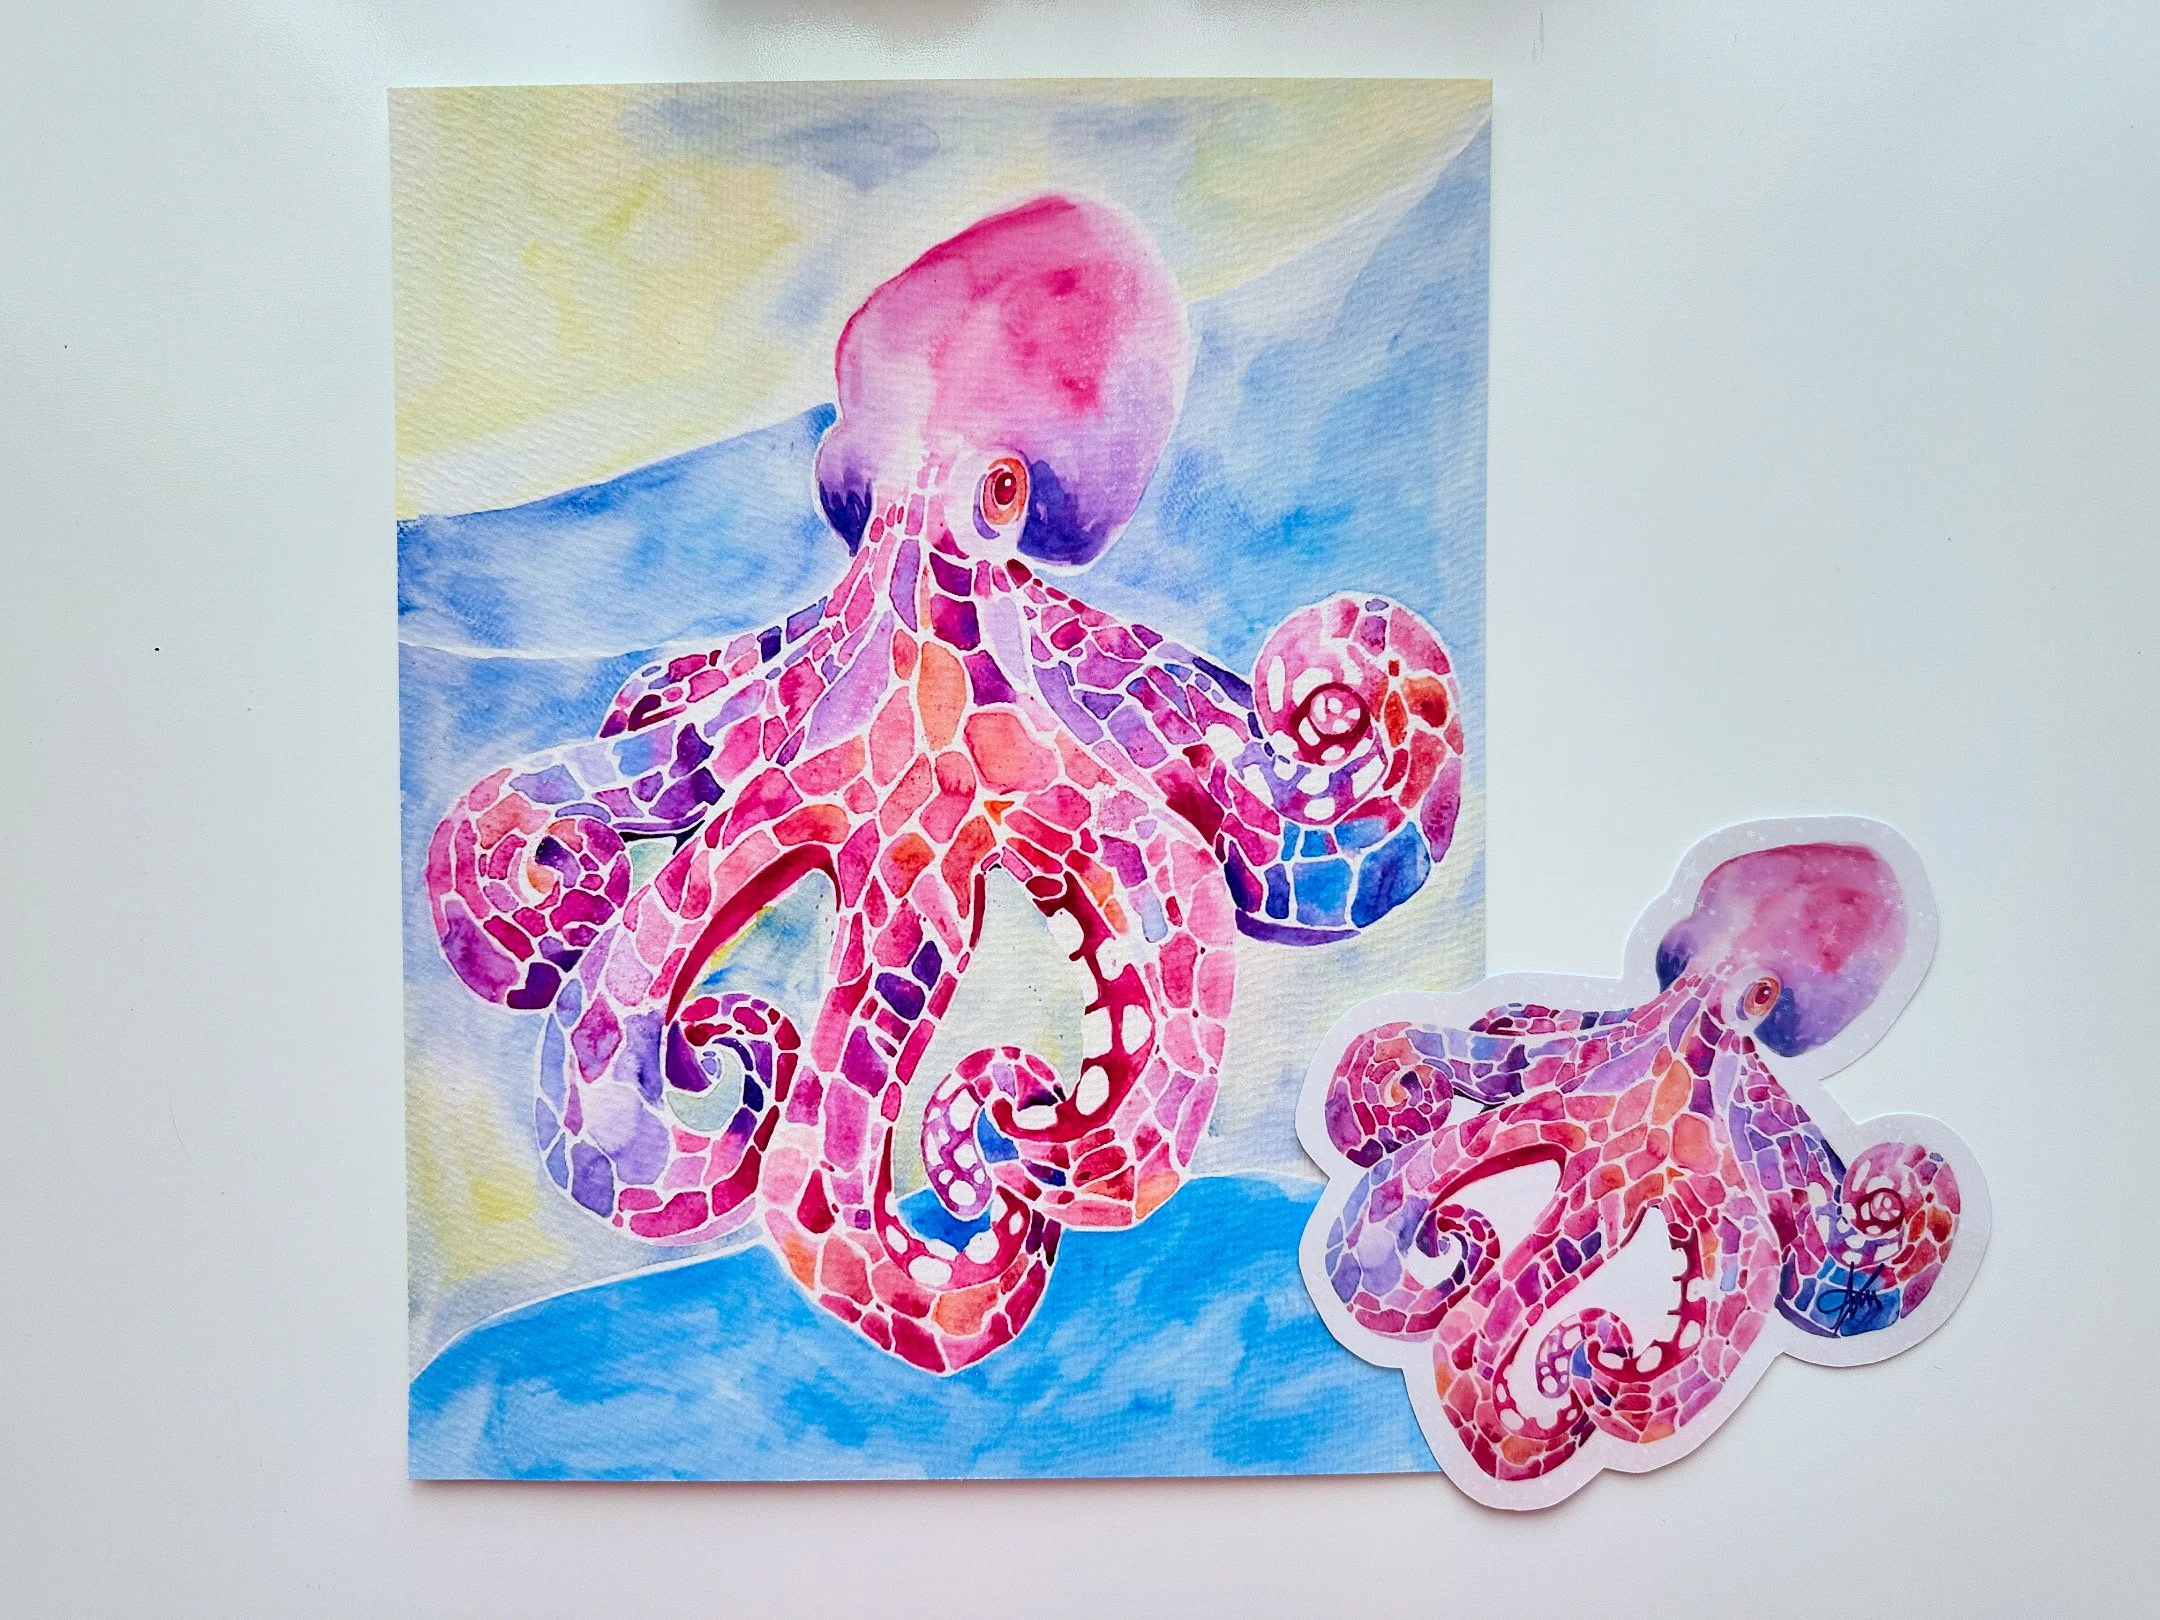
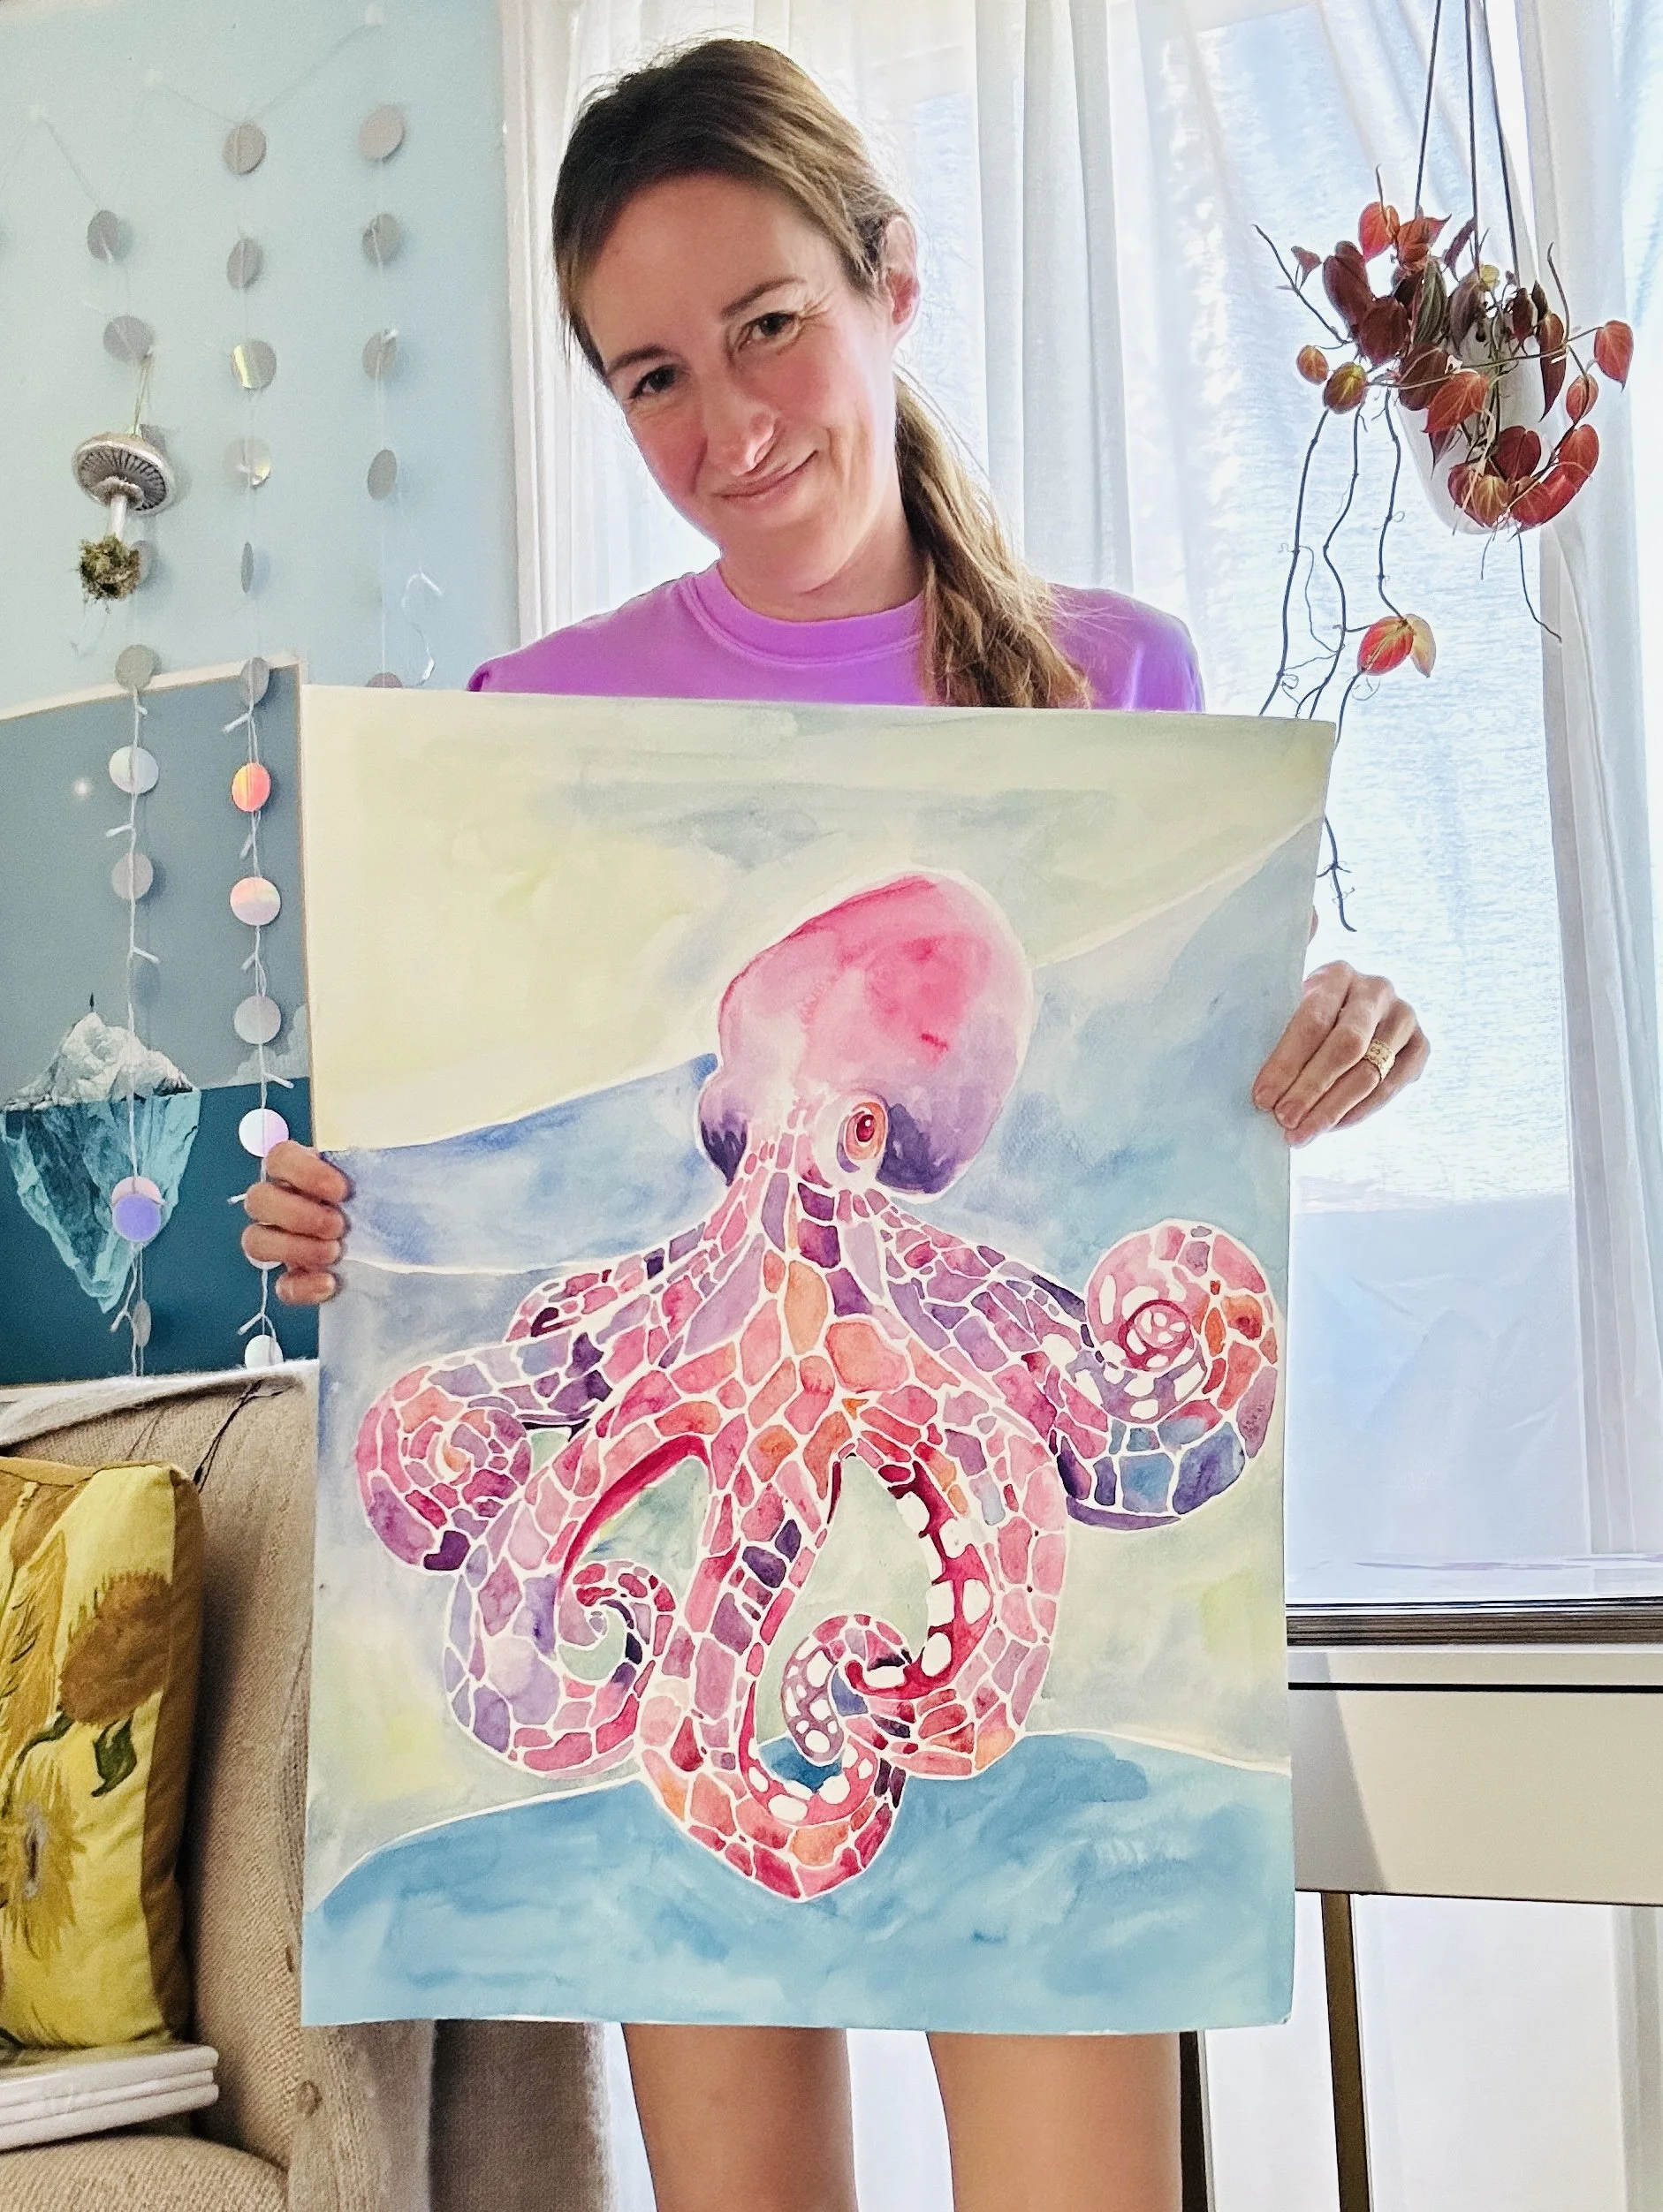
This December I decided to start sticker making from my watercolor art. I painted three watercolor sea creatures with the intention of making them into stickers. How did I do it? I watched a bunch of videos on sticker making, collected supplies, and tested out the products. I even bought a new printer to get this process to work. When I set out on this adventure I would find videos and blog articles about making stickers, but nothing comprehensive enough to cover all the bases of how to do this process. I’m sharing blow how I did it and what I discovered.
I’m going to share my step by step process so you can follow it if you are looking to make stickers from your art.
Tools for Sticker Making:
iPad
Procreate
Glossy holigraphic laminate paper
Art tool for getting bubbles out
Explaining the Printer Choice
I purchased an Epson ET-2800 Ecotank printer. I already owned an Ecotank printer which cost me over $500. However, the printer never worked and I would not promote it. It would smear or destroy the paper. My husband ran down to Staples and purchased the ET-2800 for me and it prints beautifully. The prints turned out really high quality on the sticker paper.
We tried out several different sticker papers and the one that really worked with this printer can be purchased on Amazon.
The Process for Making Stickers
Step 1: Pick a medium for creating your designs. Once you have created them (if it’s from watercolor paintings like mine) Scan the artwork and send it to Procreate
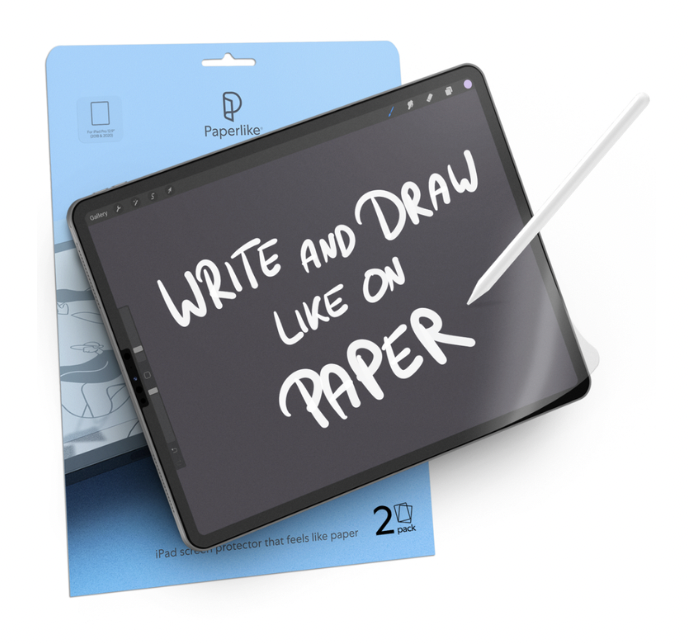
I first scan my artwork and transfer it to my iPad. I will edit the images on Procreate and get them ready to be printed. I also use a Paperlike screen protector on my iPad to make it feel like I’m sketching on paper.
Remove any background elements that are sloppy
Erase pencil lines and marks that shouldn’t be in the final artwork
Adjust the colors of my painting to be more vibrant
2. Fill a whole sheet with stickers so I’m not wasting paper
I will fill a sheet with more than one artwork before I send it to the printer
3. Print the artwork on sticker paper
I run the sticker paper through the printer and voila!
4. Add the laminate to the sticker paper
There are different types of laminate paper you can add to your stickers. They have different designs, shapes, and colors. I think the diamond and bubble laminates make my stickers look higher quality and water resistant. The stickers aren’t waterproof, but they are definitely water resistant. I highly recommend laminates. They are easy to add and give a sense of quality.
After I add the laminate, I’ll use this tool to smooth out the air bubbles.
5. Cut out the stickers with scissors
I personally cut out my stickers by hand and then clean them up if needed. I have a Cricut machine but right now I don’t use it to cut my stickers. Hand cut stickers can look really high quality if you just take the process slowly and make them look clean.
Packaging Your Stickers
Select your packaging supplies so you can surprise the person buying your stickers! It’s a great way to say thank you and to have your products stand out. I include a personalized thank you card.
Plastic Sleeves: Use clear plastic bags or sleeves to protect and display stickers.
Paper Envelopes: Opt for sturdy paper envelopes to provide a simple and eco-friendly option.
Cardboard Backings: Attach stickers to cardboard for added support and a professional look.
Custom Printed Packaging: Design branded packaging featuring your artwork or logo to enhance presentation.
Adhesive Mailing Labels: Use adhesive labels for a quick and easy way to seal packages.
Tissue Paper Wrap: Wrap stickers in tissue paper for a delicate touch that feels special.
Mini Boxes: Utilize small boxes for a unique unboxing experience.
Greeting Cards: Insert stickers into personalized greeting cards to add value and charm.Don’t forget branding. Branding helps your customer to remember you. I include something that has my brand name on it in the packaging. This could be a logo printed on your shipping bag.
Marketing and Selling Your Stickers
Once you’ve made your stickers, it's time to focus on marketing them effectively. Here are the essential steps a beginner can take to promote their creations:
1. Establish Your Online Presence
Create a Website: A dedicated website allows you to showcase your stickers, share your story, and provide an easy way for customers to purchase.
Set Up an Online Store: Choose selling platforms like Etsy, Shopify, or Big Cartel that specialize in handmade items.
2. Utilize Social Media
Choose Your Platforms: Decide which social media channels align with your target audience (e.g., Instagram, Facebook, Pinterest).
Share Your Process: Post behind-the-scenes content such as design sketches, production processes, and completed stickers to engage followers.
Use Hashtags: Employ relevant hashtags to increase your visibility and reach a broader audience interested in stickers and art.
3. Build a Community
Join Online Groups: Participate in forums and groups related to stickers or art on platforms like Facebook or Reddit to connect with potential customers.
Engage With Followers: Respond to comments and messages to foster a positive relationship with your audience.
4. Create Compelling Content
Photography: Invest time in photographing your stickers beautifully; good images can attract more buyers.
Videos: Consider making short videos showcasing your design process or how stickers can be used creatively.
5. Collaborate and Network
Partner with Influencers: Identify micro-influencers in the art and sticker community for potential collaborations to reach their followers.
Attend Local Events: Consider participating in craft fairs or art markets to reach customers in person and build local recognition.
6. Implement Promotions
Offer Discounts: Create limited-time offers or discounts to incentivize purchases.
Run Contests: Host giveaways on social media to increase engagement and attract new followers.
7. Collect Feedback
Ask for Reviews: Encourage customers to leave reviews to build trust and credibility.
Adjust Based on Feedback: Use constructive criticism to improve your products and marketing strategies.
By following these steps, you can effectively market your stickers and expand your reach within the art community while establishing a solid foundation for your business.
“Anybody can paint. You just need a dream in your heart.” - Bob Ross


