How to Paint Fall Leaves with Watercolor
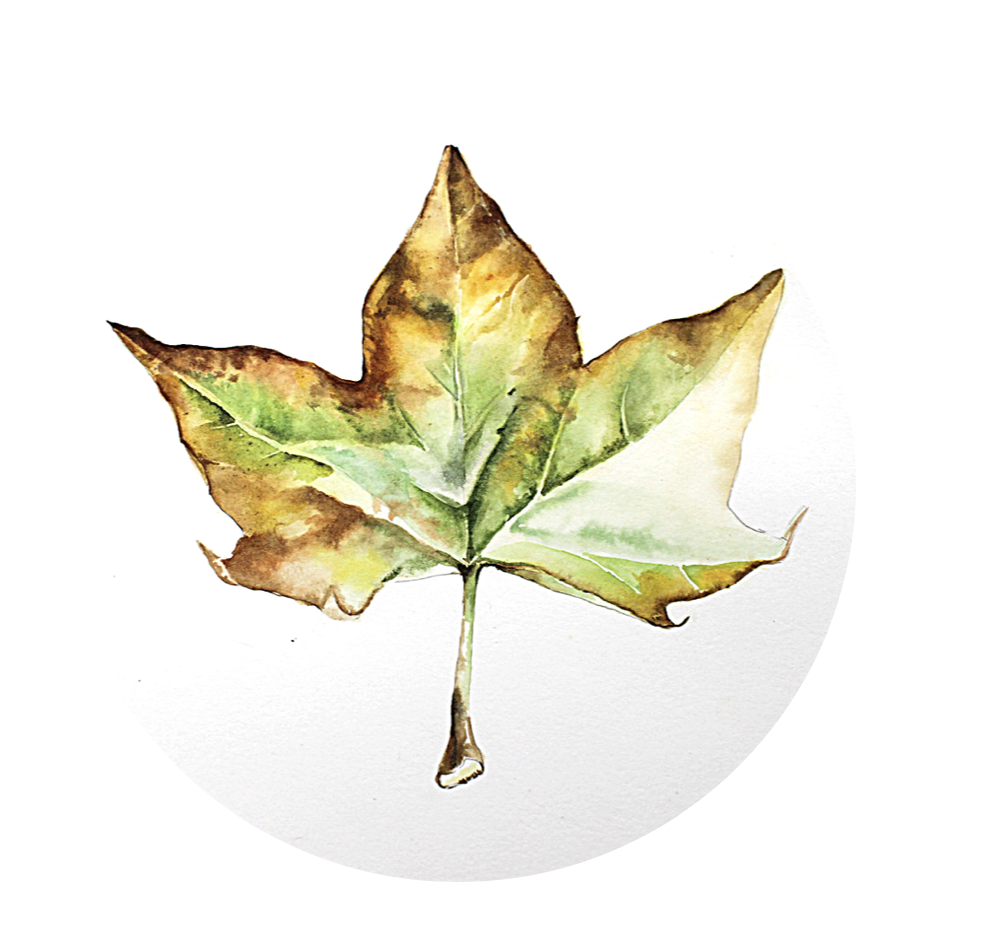
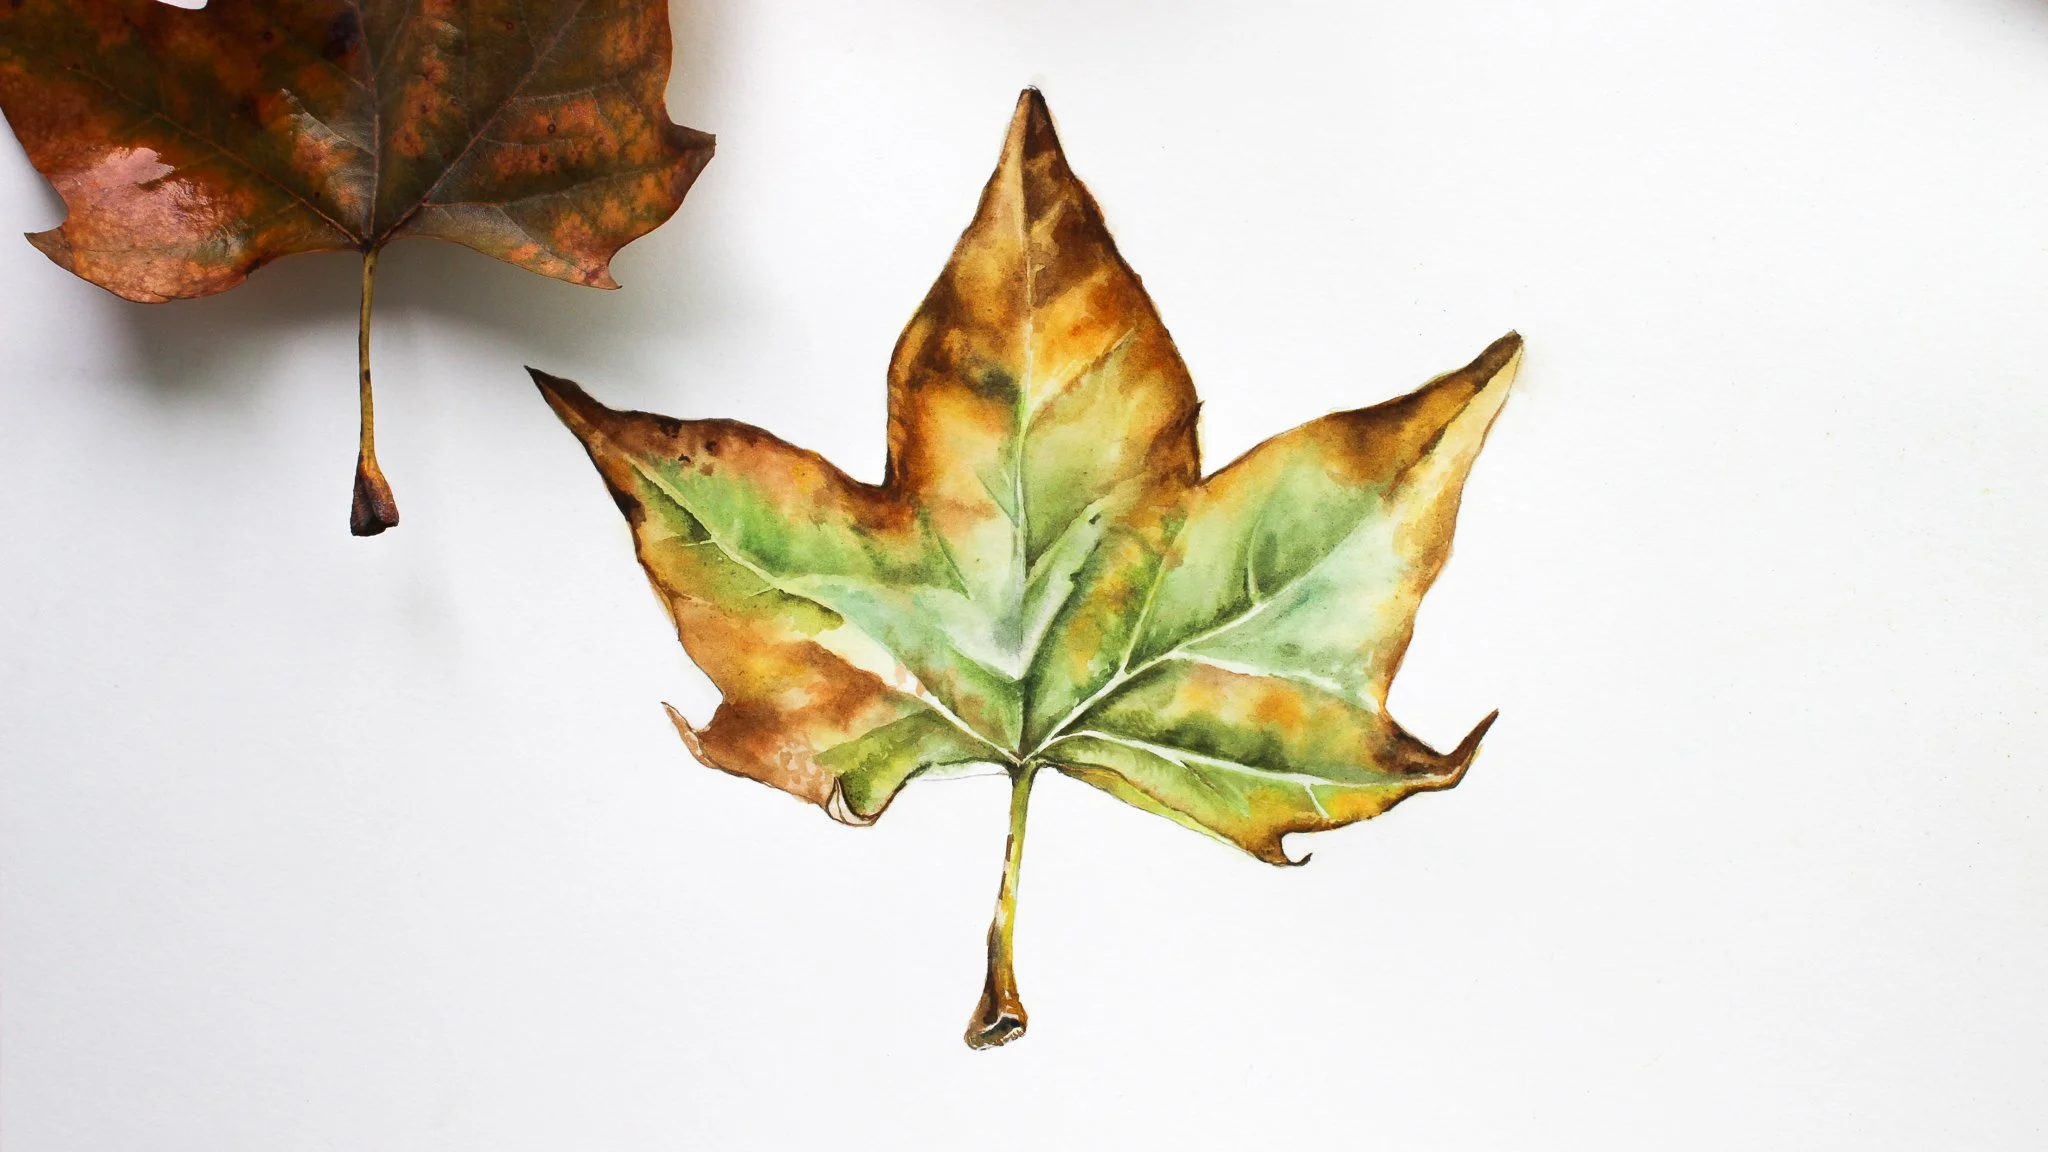
Leaves challenge any painter’s ability to paint a botanical masterpiece and in this tutorial we will discuss how to paint fall leaves in watercolors. Leaves are easy to find and make colorful subjects to paint. Hey can be a challenge to recreate on paper. Having many veins and colors, the approach to botanical paintings takes time to create and emerges from studying the subject.
Have you ever wondered how painters get that realistic look on paper? Or wondered what colors they use. Then this article is for you. I discuss how to approach painting a complex leaf subject, build layers through glazing techniques, and pick out a subject that will result in a good painting.
“Autumn is a second spring when every leaf is a flower.”
— Albert Camus
Picking a leaf to paint in watercolors
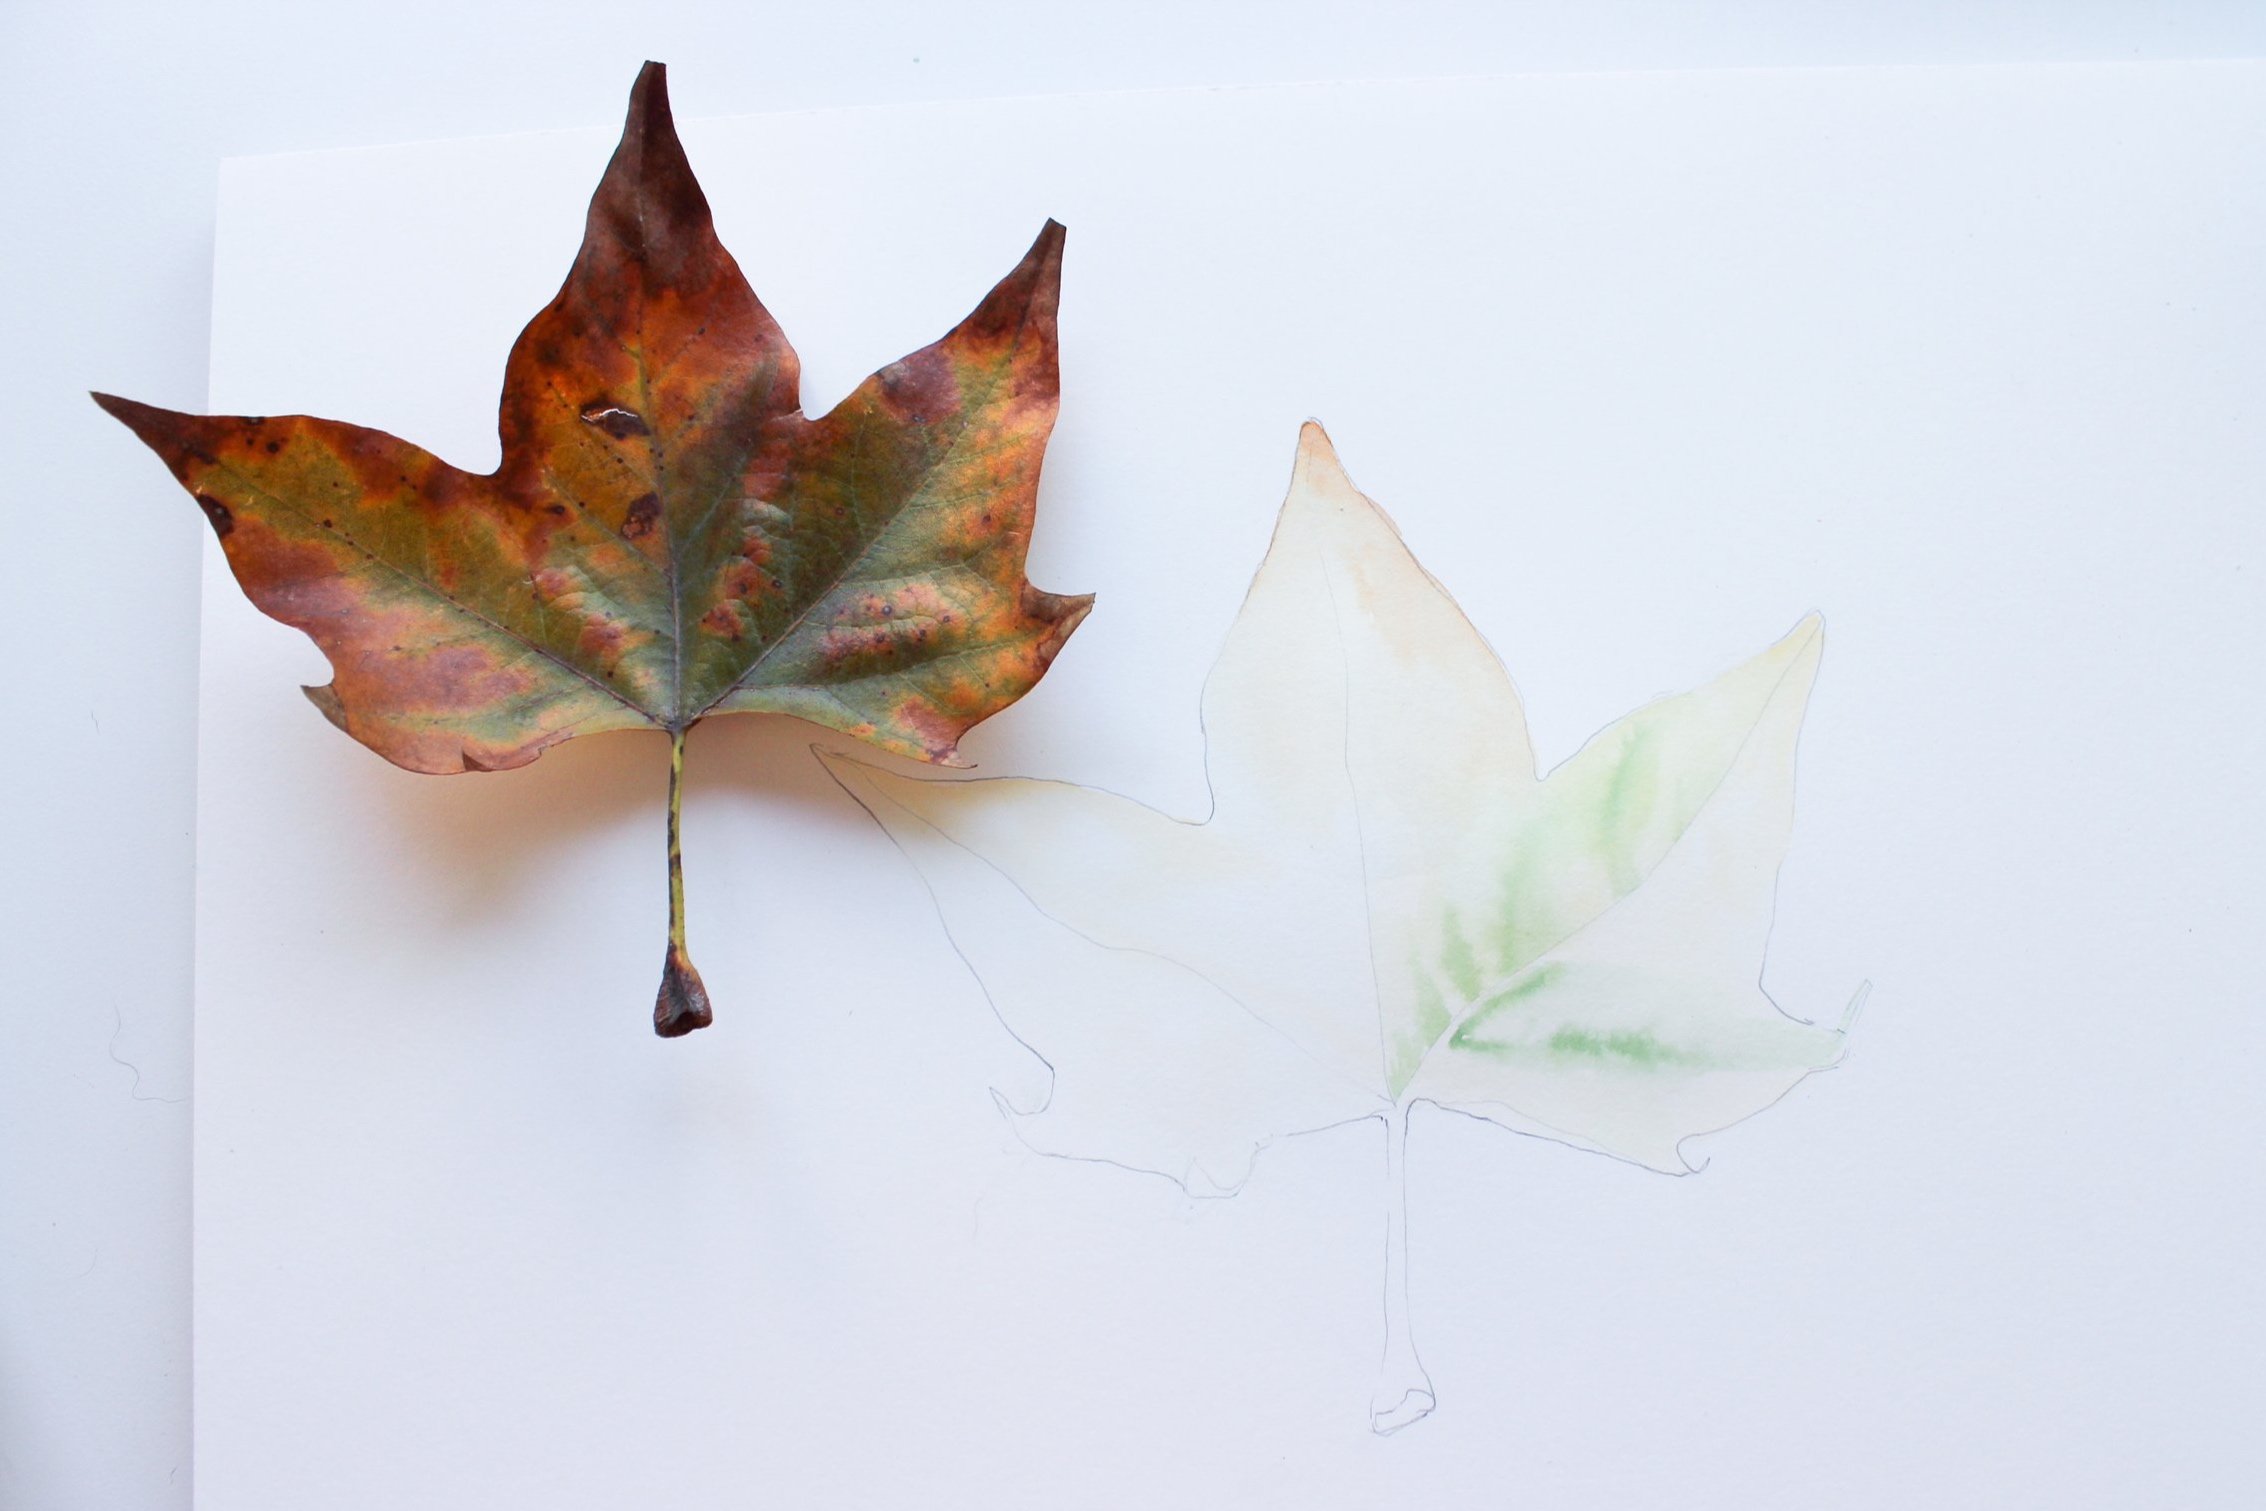
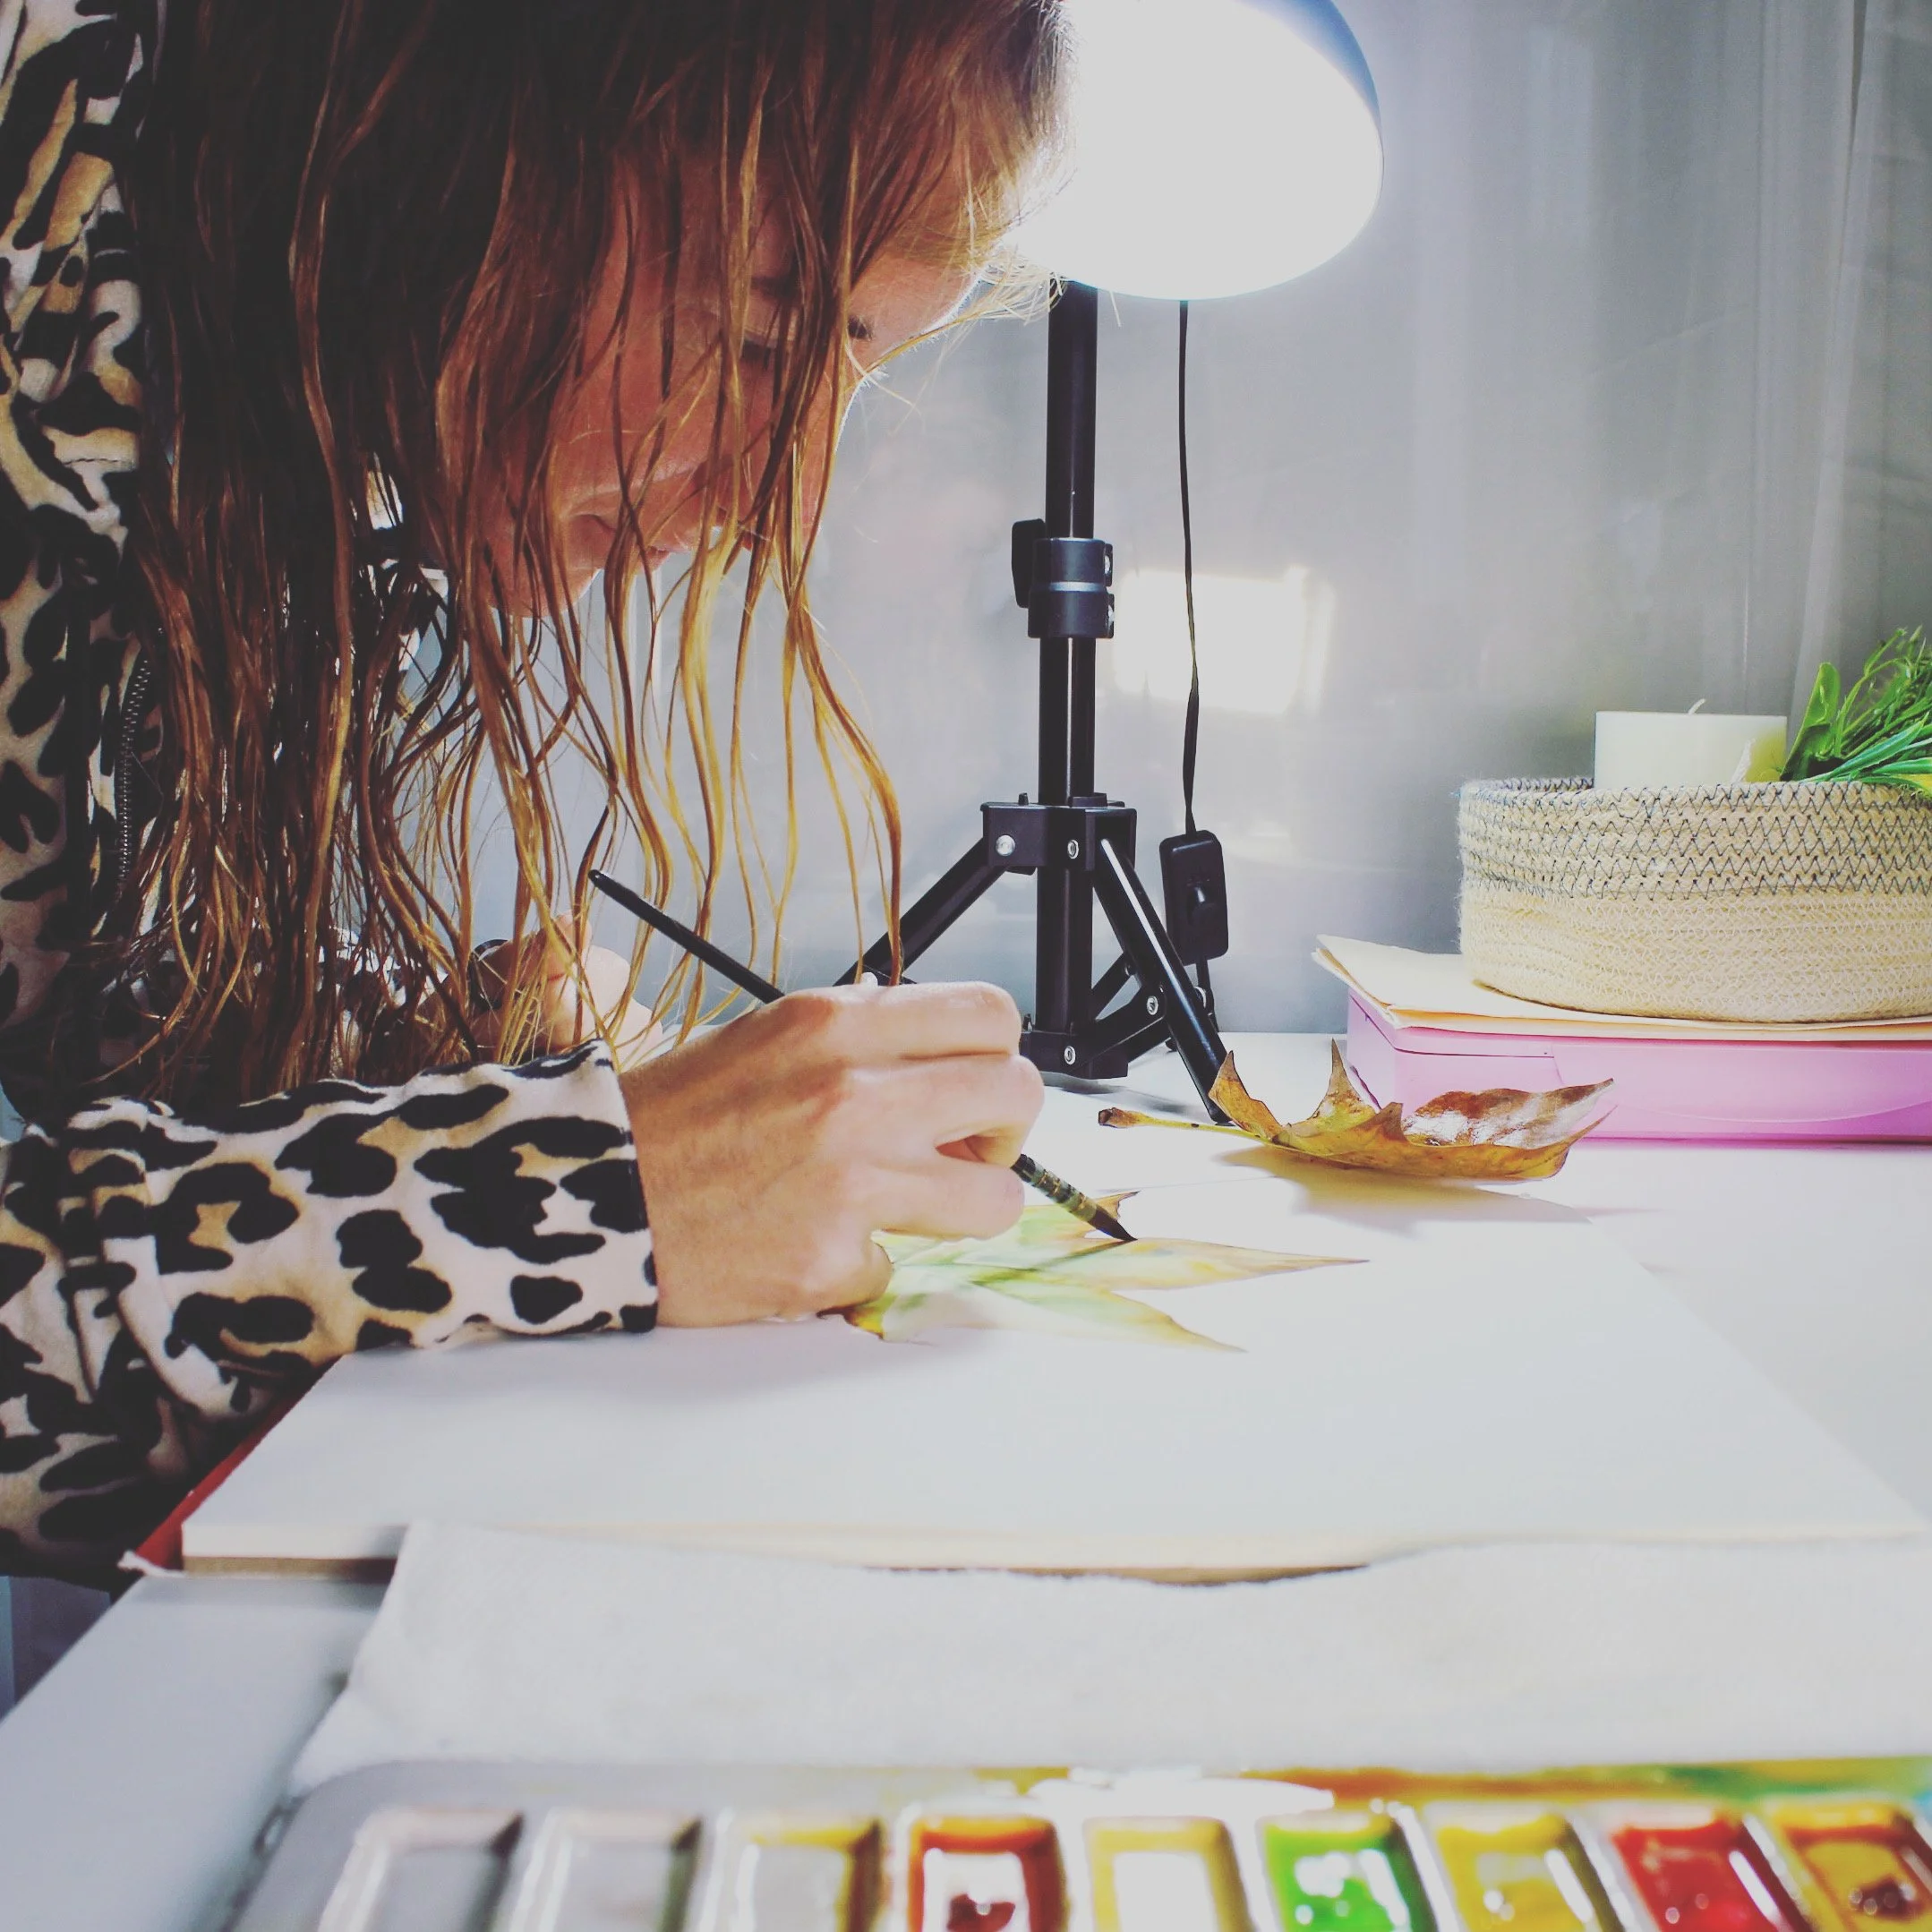
The easy part will be finding subject matter to paint. If you go on a walk or to a local garden, you can find a handful of leaves to paint. Grab more than one specimen in the hunt. You might decide to paint a different leaf. I usually grab a handful and then visualize the painting on the paper by placing my leaf on the paper in different compositions. Choose a composition that works. Usually 3 leaves or 5 creates a balanced composition. However, 1 leaf is fine. It should be more than enough of a challenge to paint. Once I decide on which leaf I’m going to use, I’ll sketch their shape onto the paper by tracing around the leaf.
Transferring the shape of the leaf to paper
You can achieve the outline of the leaf by laying it flat using your hands and just tracing around the object. Most leaves won’t lay down flat, so there are other techniques you can use to get the shape perfectly. One is to use a Lightbox. You would sandwich the leaf between two sheets of paper and tape it down to a Lightbox, then trace the sheet on top. Many botanical artists use a tracing technique to get this perfectly. Another way to transfer the shape is to use a piece of glass and an erasable marker. You trace the shape on top of the glass and then transfer it to paper after. I cover these techniques in another tutorial if you’re interested.
Once you have the shape, you’ll want to pick your colors. For this painting I used yellow ochre, Prussian blue, permanent green, cadmium red, and Indian yellow. I prefer the Schminke brand of watercolors because the colors are vibrant and truer than other brands. I’ve used pretty much all of them. A botanical master told us in a class about the Schminke brand and since that class I have never looked back. They’re pricey, but the value is there.
Building first layers in the watercolor leaf painting
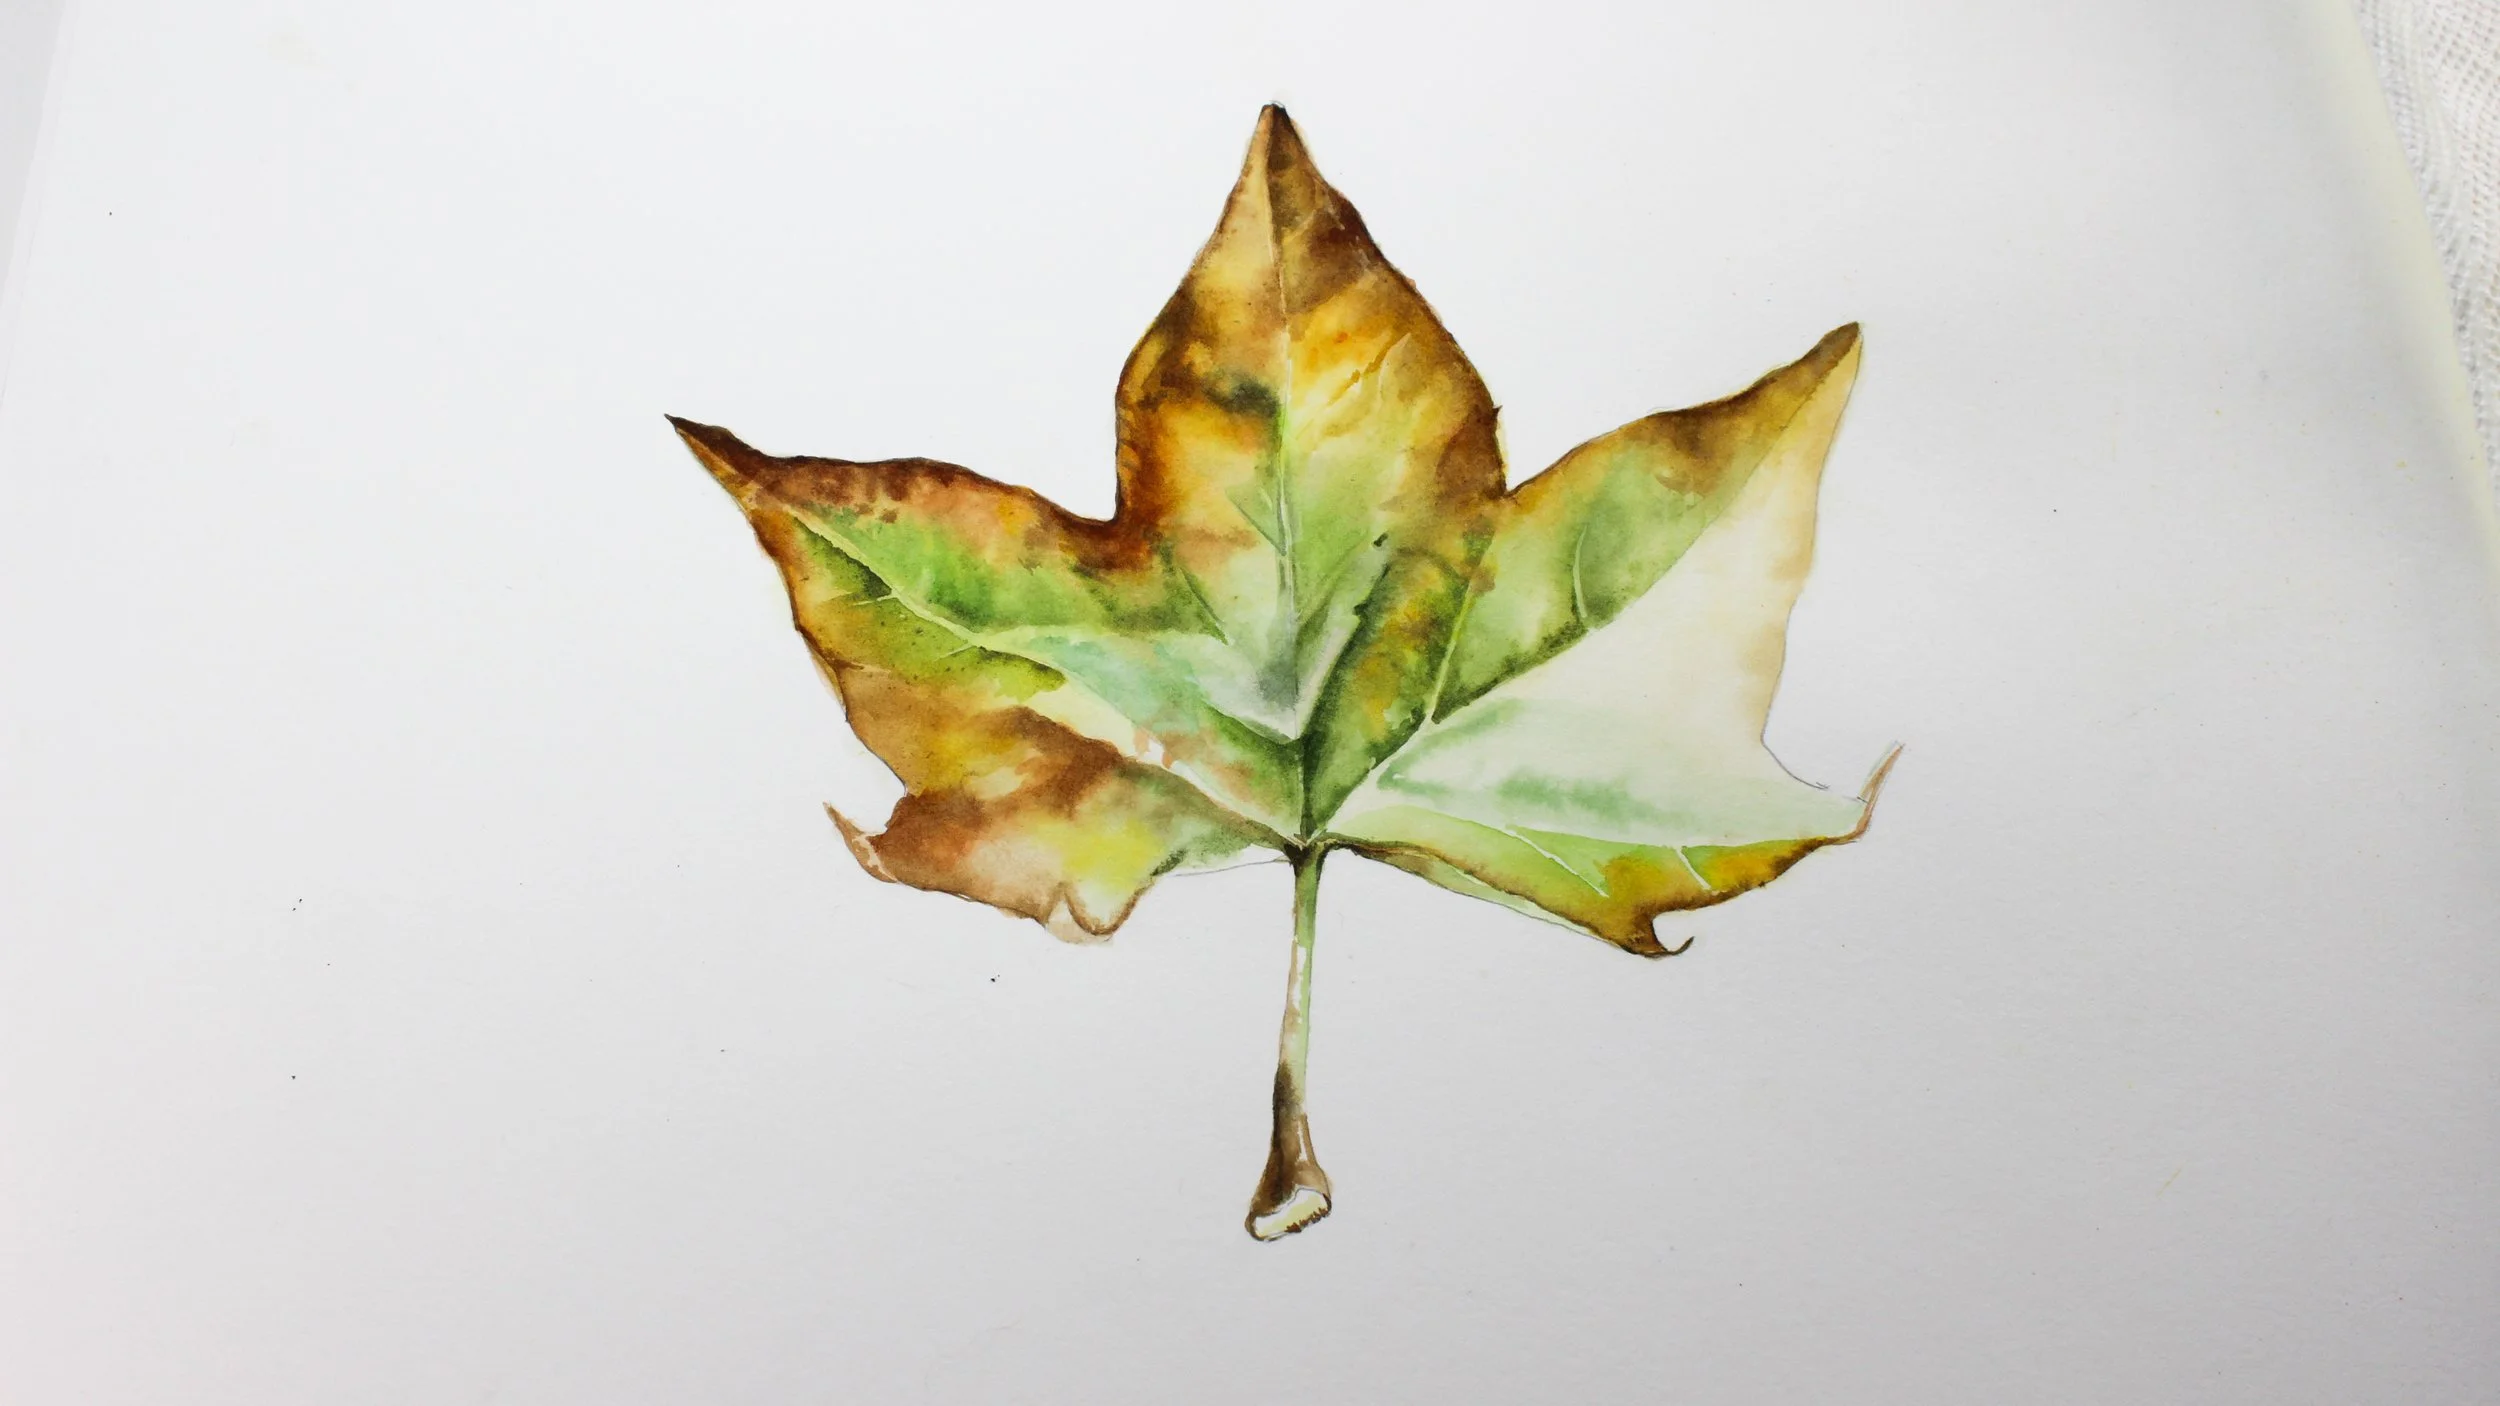
The painting begins with a layer of water. You are going to want to become a master of glazing — wet in wet technique. You can learn how to master this technique in one of my other tutorials. Wet in wet glazing is the way botanical artists achieve photorealistic and realistic depictions of botanical subjects. These paintings take hundreds of layers and many hours to achieve. However, it’s worth the sweat! I love the results and I know you will too.
For this painting, you will want to begin with a very watered down version of the Indian yellow. The leaf I picked has a lot of yellow colors in it, so I begin with a very watered down version of the yellow. However, for the leaf you have chosen, you will want to discern which color is best to begin with. You may not have any yellow in your leaf. Often I will do a color test and do swatches on a separate piece of paper to see how close those colors look when they are dry.
Lay down your water over the entire subject with a large bristle brush and then crosshair the Indian yellow across the whole leaf. This will be your base layer. While the water is still wet, you can also add greens and ochre colors. It’s up to you how quickly you build your colors.
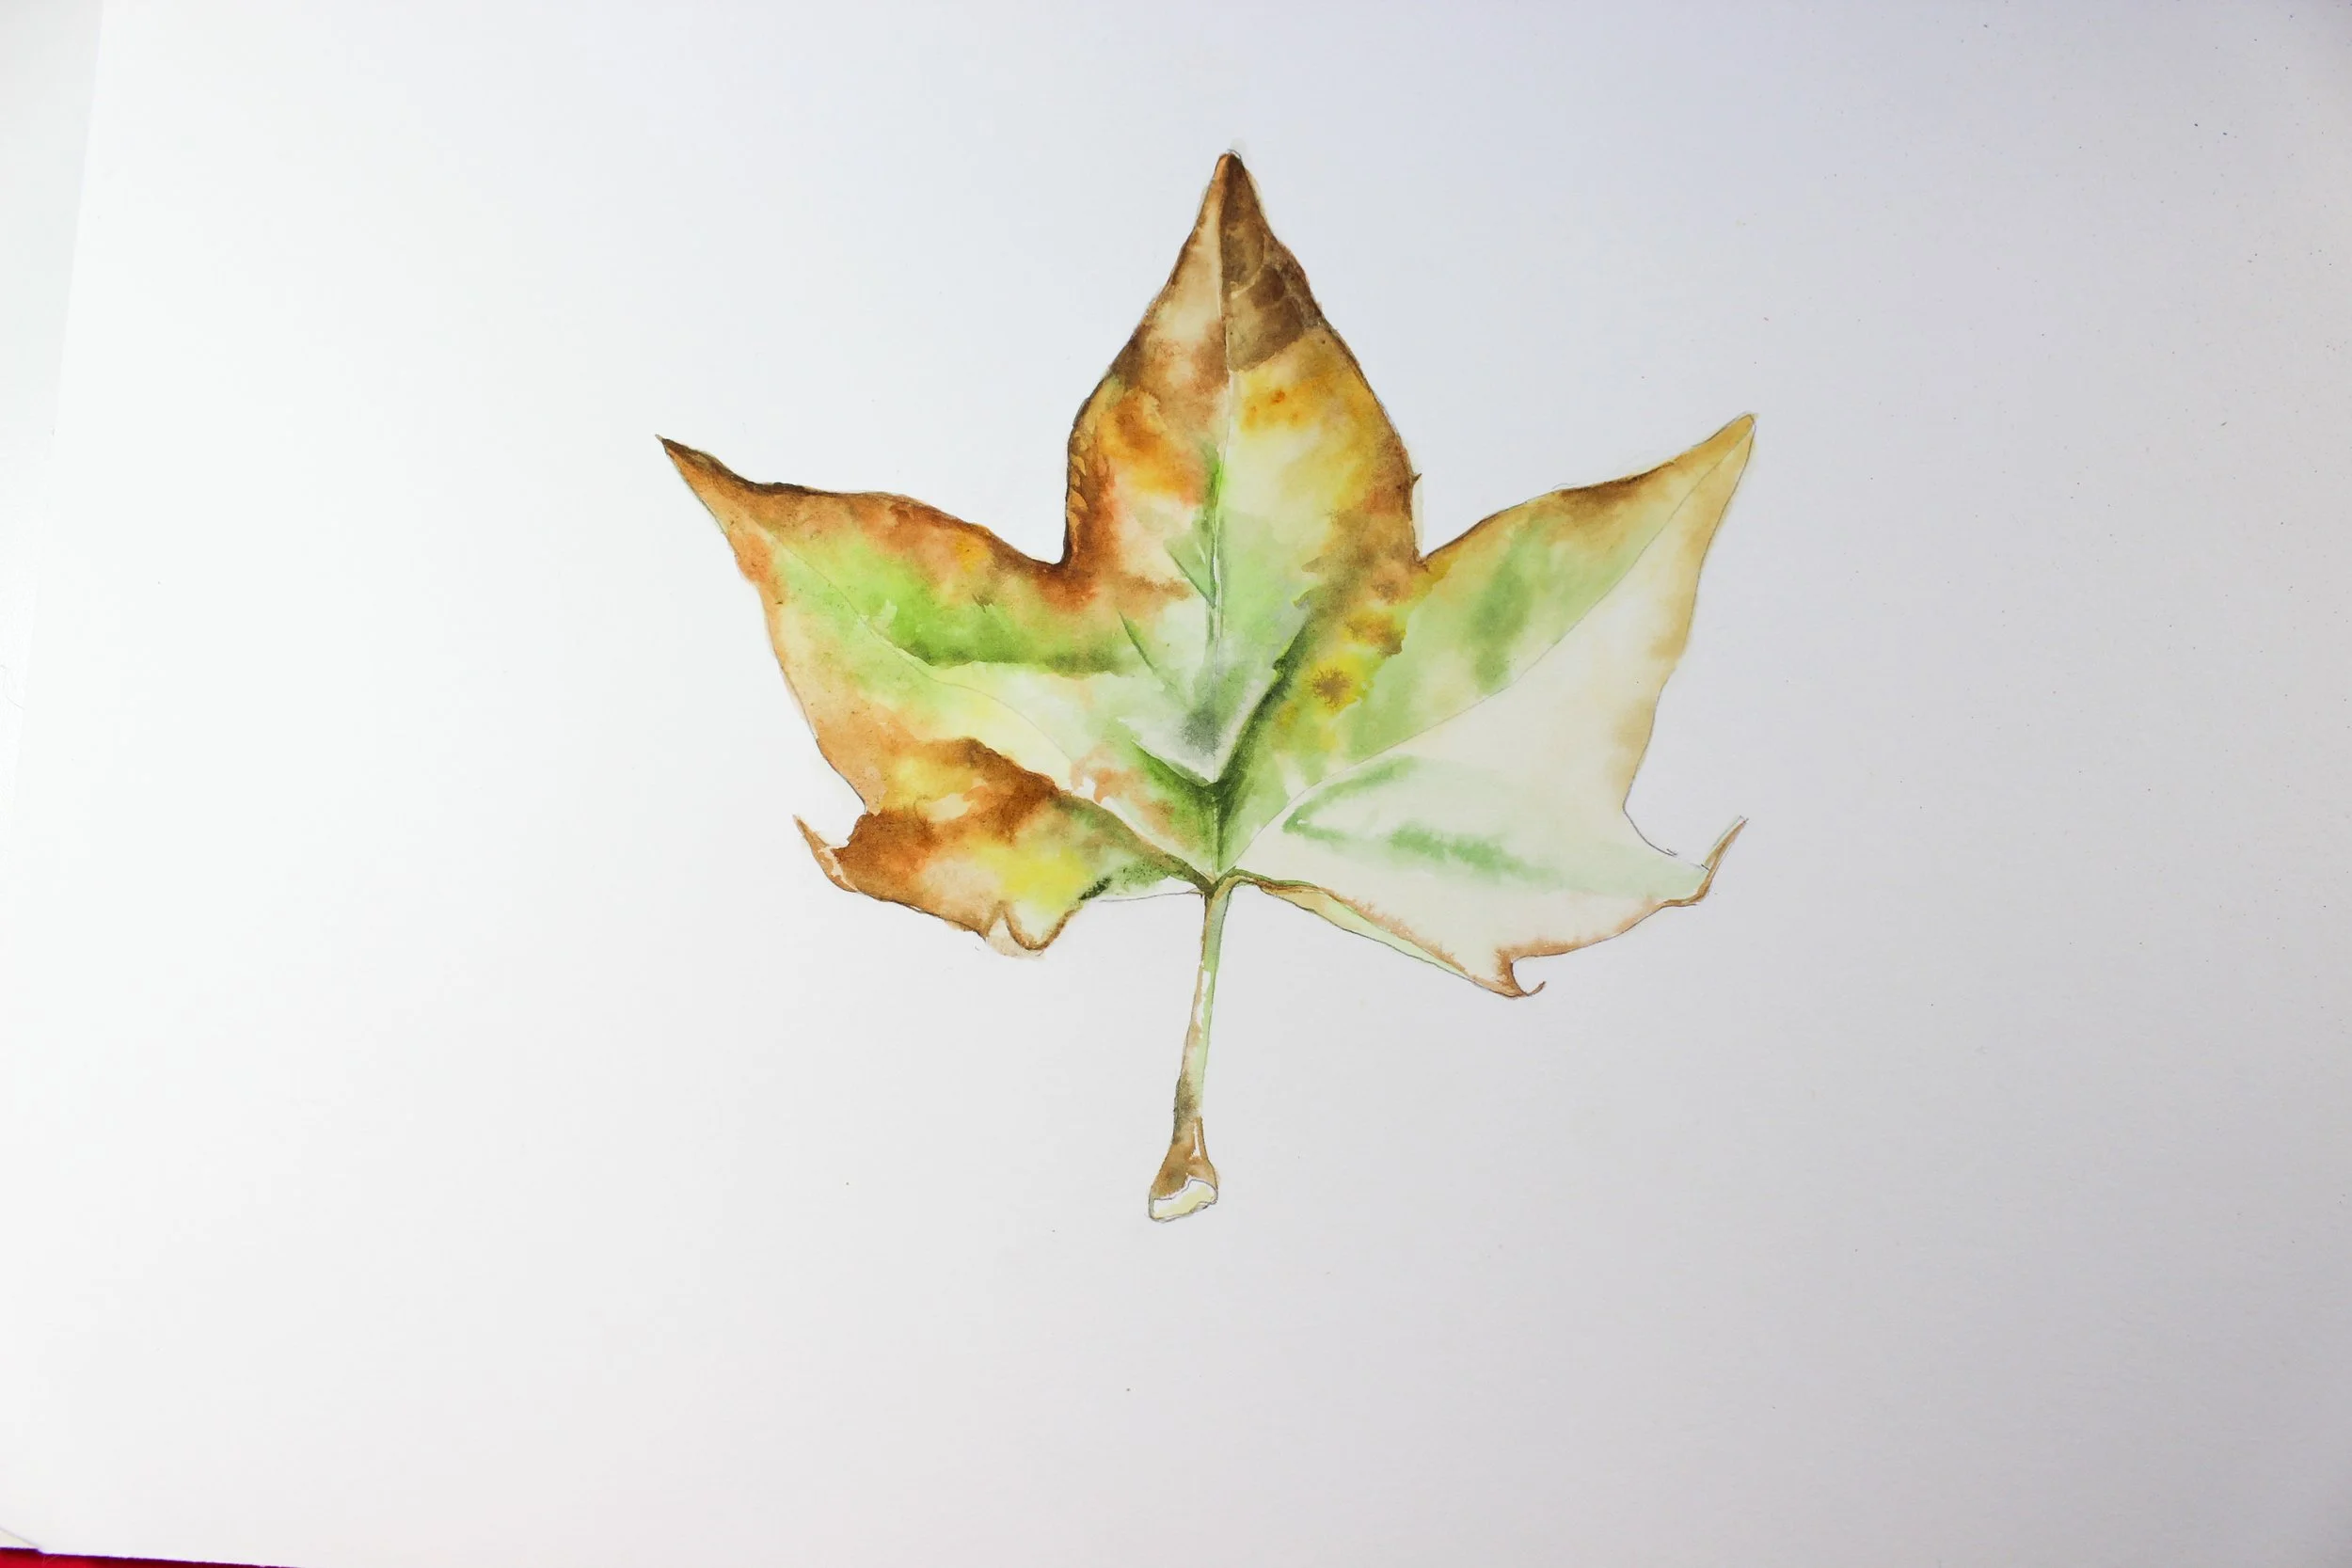
Once you achieve your middle tones, begin to build up layers of darker colors marking in the edges of the subject. Think about how the leaf is bending towards you or away from you. This will help you to see where the colors should go.
If you take your time, the results will be beautiful.
Making Your Mark in Watercolor
Towards the end of the painting I begin to use darker colors. I will get closer to the true dark values of the painting. I’ll decide if I want a drop shadow behind the leaf or a background color. Sometimes I will paint a background color using gouache. I love the texture of gouache in a painting. It’s all up to you! White backgrounds are very traditional to botanical painting as the eye is supposed to be drawn to the detail in the subject rather than overall composition.
“Sometimes I defy flower anatomy & other times I try and replicate it intricately! — ”
Continue building color and glazing to get the realistic effect. Begin to build up the veins in the leaf gradually. Your hours of work will pay off!
Botanical Tip for Glazing with Watercolors
* Do not forget that the veins of a leaf are not white. Study the color of the veins and add that in later.
In conclusion, if you take it really slow and work on the painting over the course of several days, the painting will turn out better than if you rush it. I’ve made this mistake many times where I just wanted to see a finished piece. However, my best paintings happened when I took several days or over a month to work on it. You can really visualize tweaks you need to make as you go along and make alterations.
I’d love to see how your leaf turned out! Feel free to connect with me on Instagram and share your work in a message. @dreamin.color

