How to Paint a (Watercolor) Gouache Apple
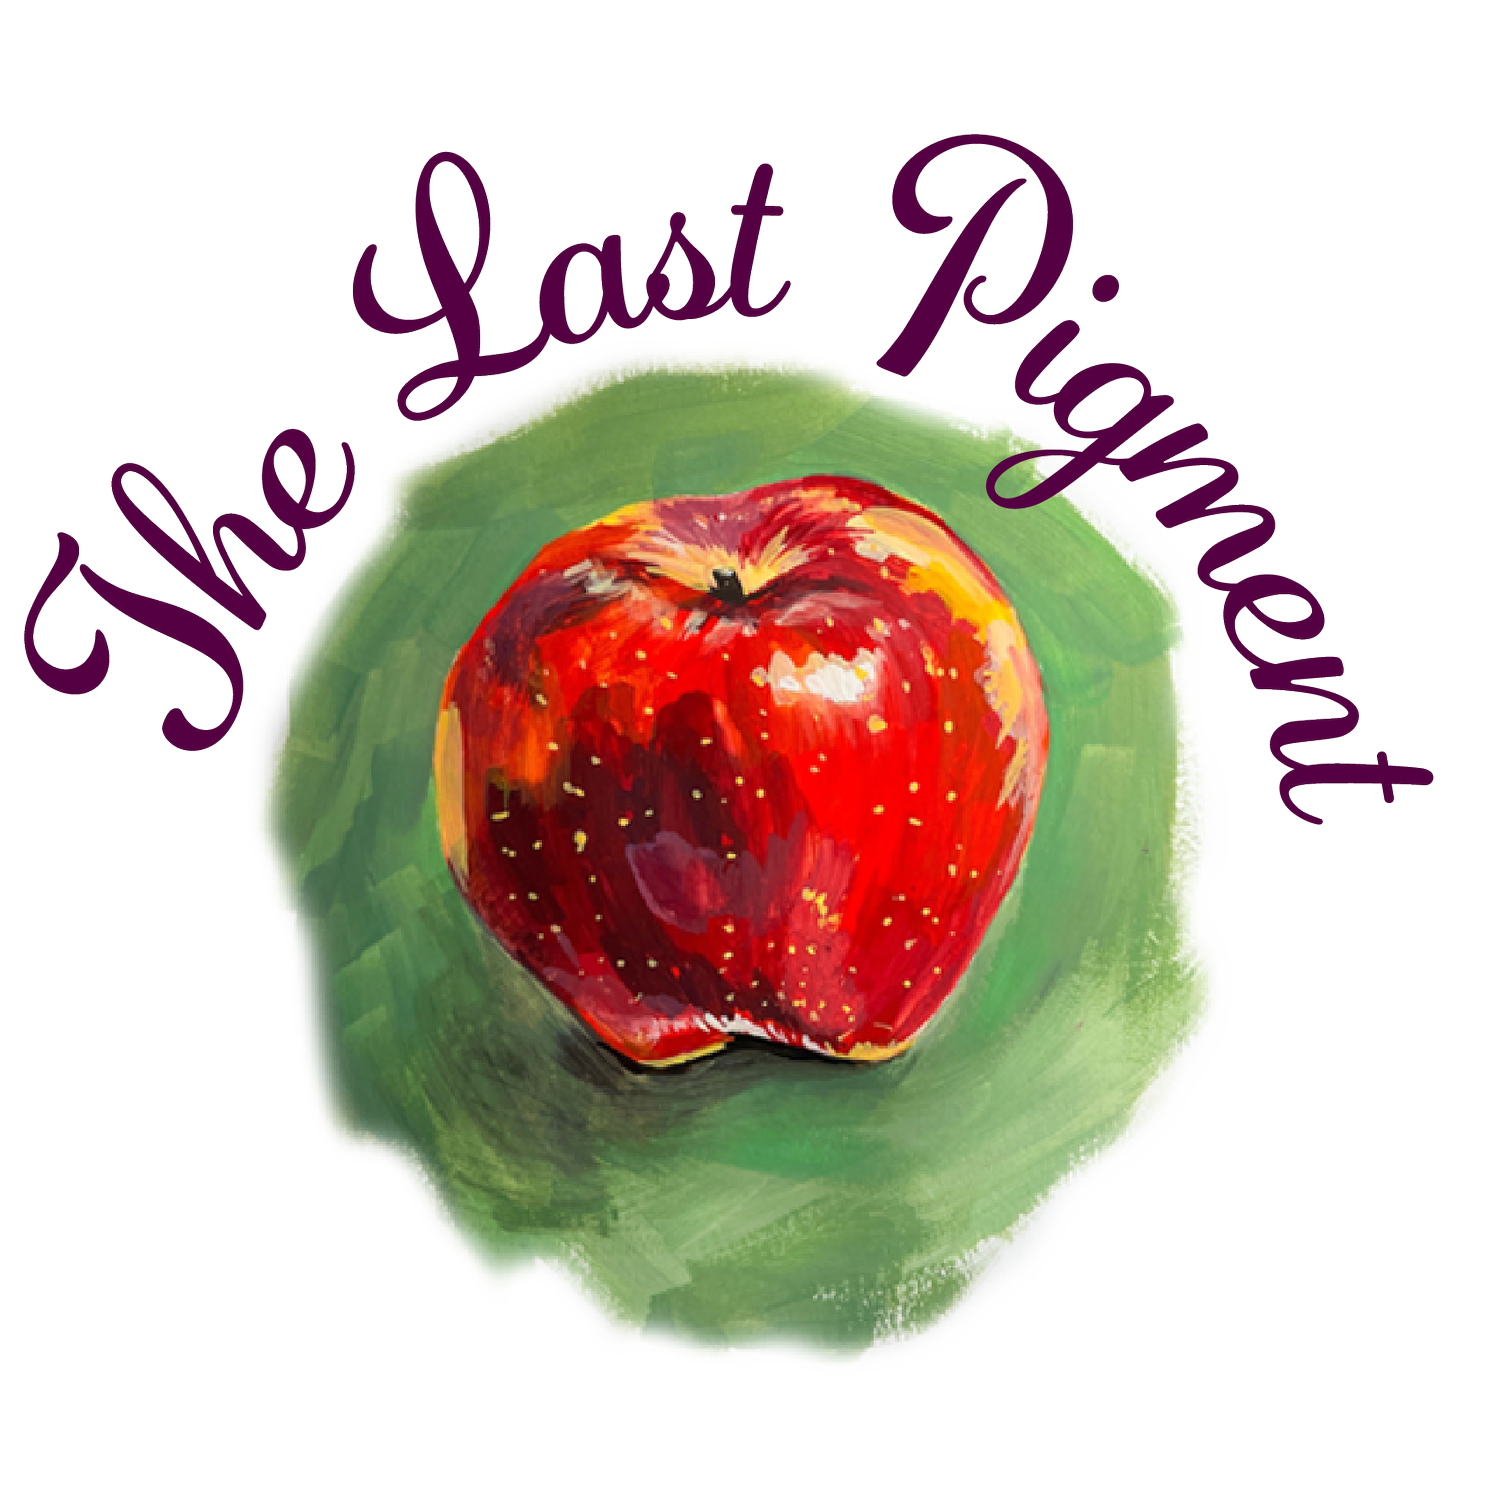
How to paint a watercolor apple will be discussed in this blog post. You can also check out the video down below. I use Himi gouache to paint the apple below. The reason this post is also mentioning watercolor is because both gouache and watercolor paints are water based paints. I felt for this first tutorial that it would be quicker to achieve the realistic apple painting if we used gouache because gouache has more pigmentation.
Gouache, as a medium used by graphic designers in the 30’s, has a rich history. It’s vibrant and works similar to watercolors because it’s water based. Today, more artists and illustrators are exploring the flexibility of gouache to paint. In this article, we will explore using gouache to paint still life subjects, specifically an apple. Apples are one of the first objects you learn to paint in art classes after learning fundamentals such as how to draw, shade, and render in black and white. We will be working with color in this tutorial.
Sketching the shape of the apple
The apple is a round shaped object which makes it a great first subject to paint. I start by sketching the contours of the apple. It’s not perfectly round, so I use straight lines to give the idea of “planes.” This helps me to visualize where the shadows are and see the object as 3 dimensional rather than a flat circle.
Beginning the painting of the apple
We begin by blocking in the main color of the apple using a warm yellow. I create the full shape of the apple with this color. After blocking in the yellow color, I begin layering reds over the top. I wait until the gouache dries before painting over it. Many people will tell you that layering on gouache is hard because you can accidentally pull colors off the paper. Gouache reactivates when it’s wet. However, if you keep your paints very thick like I did in the video, you will see it’s quite easy to glaze (layer paint).
In order to achieve my cool and warm red color in the painting, I add color dark blue and for the warm red I add yellow. You can see in the video below how I achieve this effect. If you don’t have the right color, just keep adding more blue or yellow until you achieve the color you want. Alizarin crimson and naphthol red are great colors for painting still life and botanicals.
Final Details of the Apple Painting
I created the details of the apple by going back in with the yellow I used at the beginning to achieve the dots. I also mix a purple color for the reflection on the side of the apple. Painting with gouache is all about experimentation. Gouache dries quickly and changes colors. A few hours later, the painting will look totally different. This is one reason a lot of people don’t like the medium. It can be frustrating to paint with gouache when the colors you see on the paper change after they dry. I recommend experimenting with the medium and painting a lot of different subjects so you can see how the medium works. At a certain point, you instinctively learn how to mix the colors to achieve exactly what you want in your end results.
Fixing the Background
In order to fix the background of this gouache painting, I mix a green color from my palette with white. I tone the brightness of the color down by taking a dab of red and adding it to the green. This gives me a nice calming green that doesn’t fight with the foreground of the painting. Typically really saturated colors can fight with each other if you use too many. Because the red is so bright I wanted the background to compliment rather than fight for dominance. I think it turned out quite nice.
I hope the tutorial and video helped you learn how to paint an apple. I love gouache and it’s a treat to work with this medium. If you’d like to learn more about painting with gouache, subscribe to my YouTube channel and mailing list below! I’ll be doing an entire gouache painting series to show how the medium works.


