

How to Paint Watercolor Peonies

Every botanical watercolor painting begins with a sketch. The best way to approach painting a flower is to have one in front of you. Live subjects make it easier to match the colors of the flower and the lighting.
The peony inspired many writers throughout history from China to Ancient Greece. The peony is the flower for the 12th wedding anniversary. The impressionist painters were fascinated with peonies. Even Van Gogh painted them. They are one flower that can outlive humans.
Step 1: Gather Your Materials
Before diving into your painting, it's essential to gather all the necessary materials. You will need:
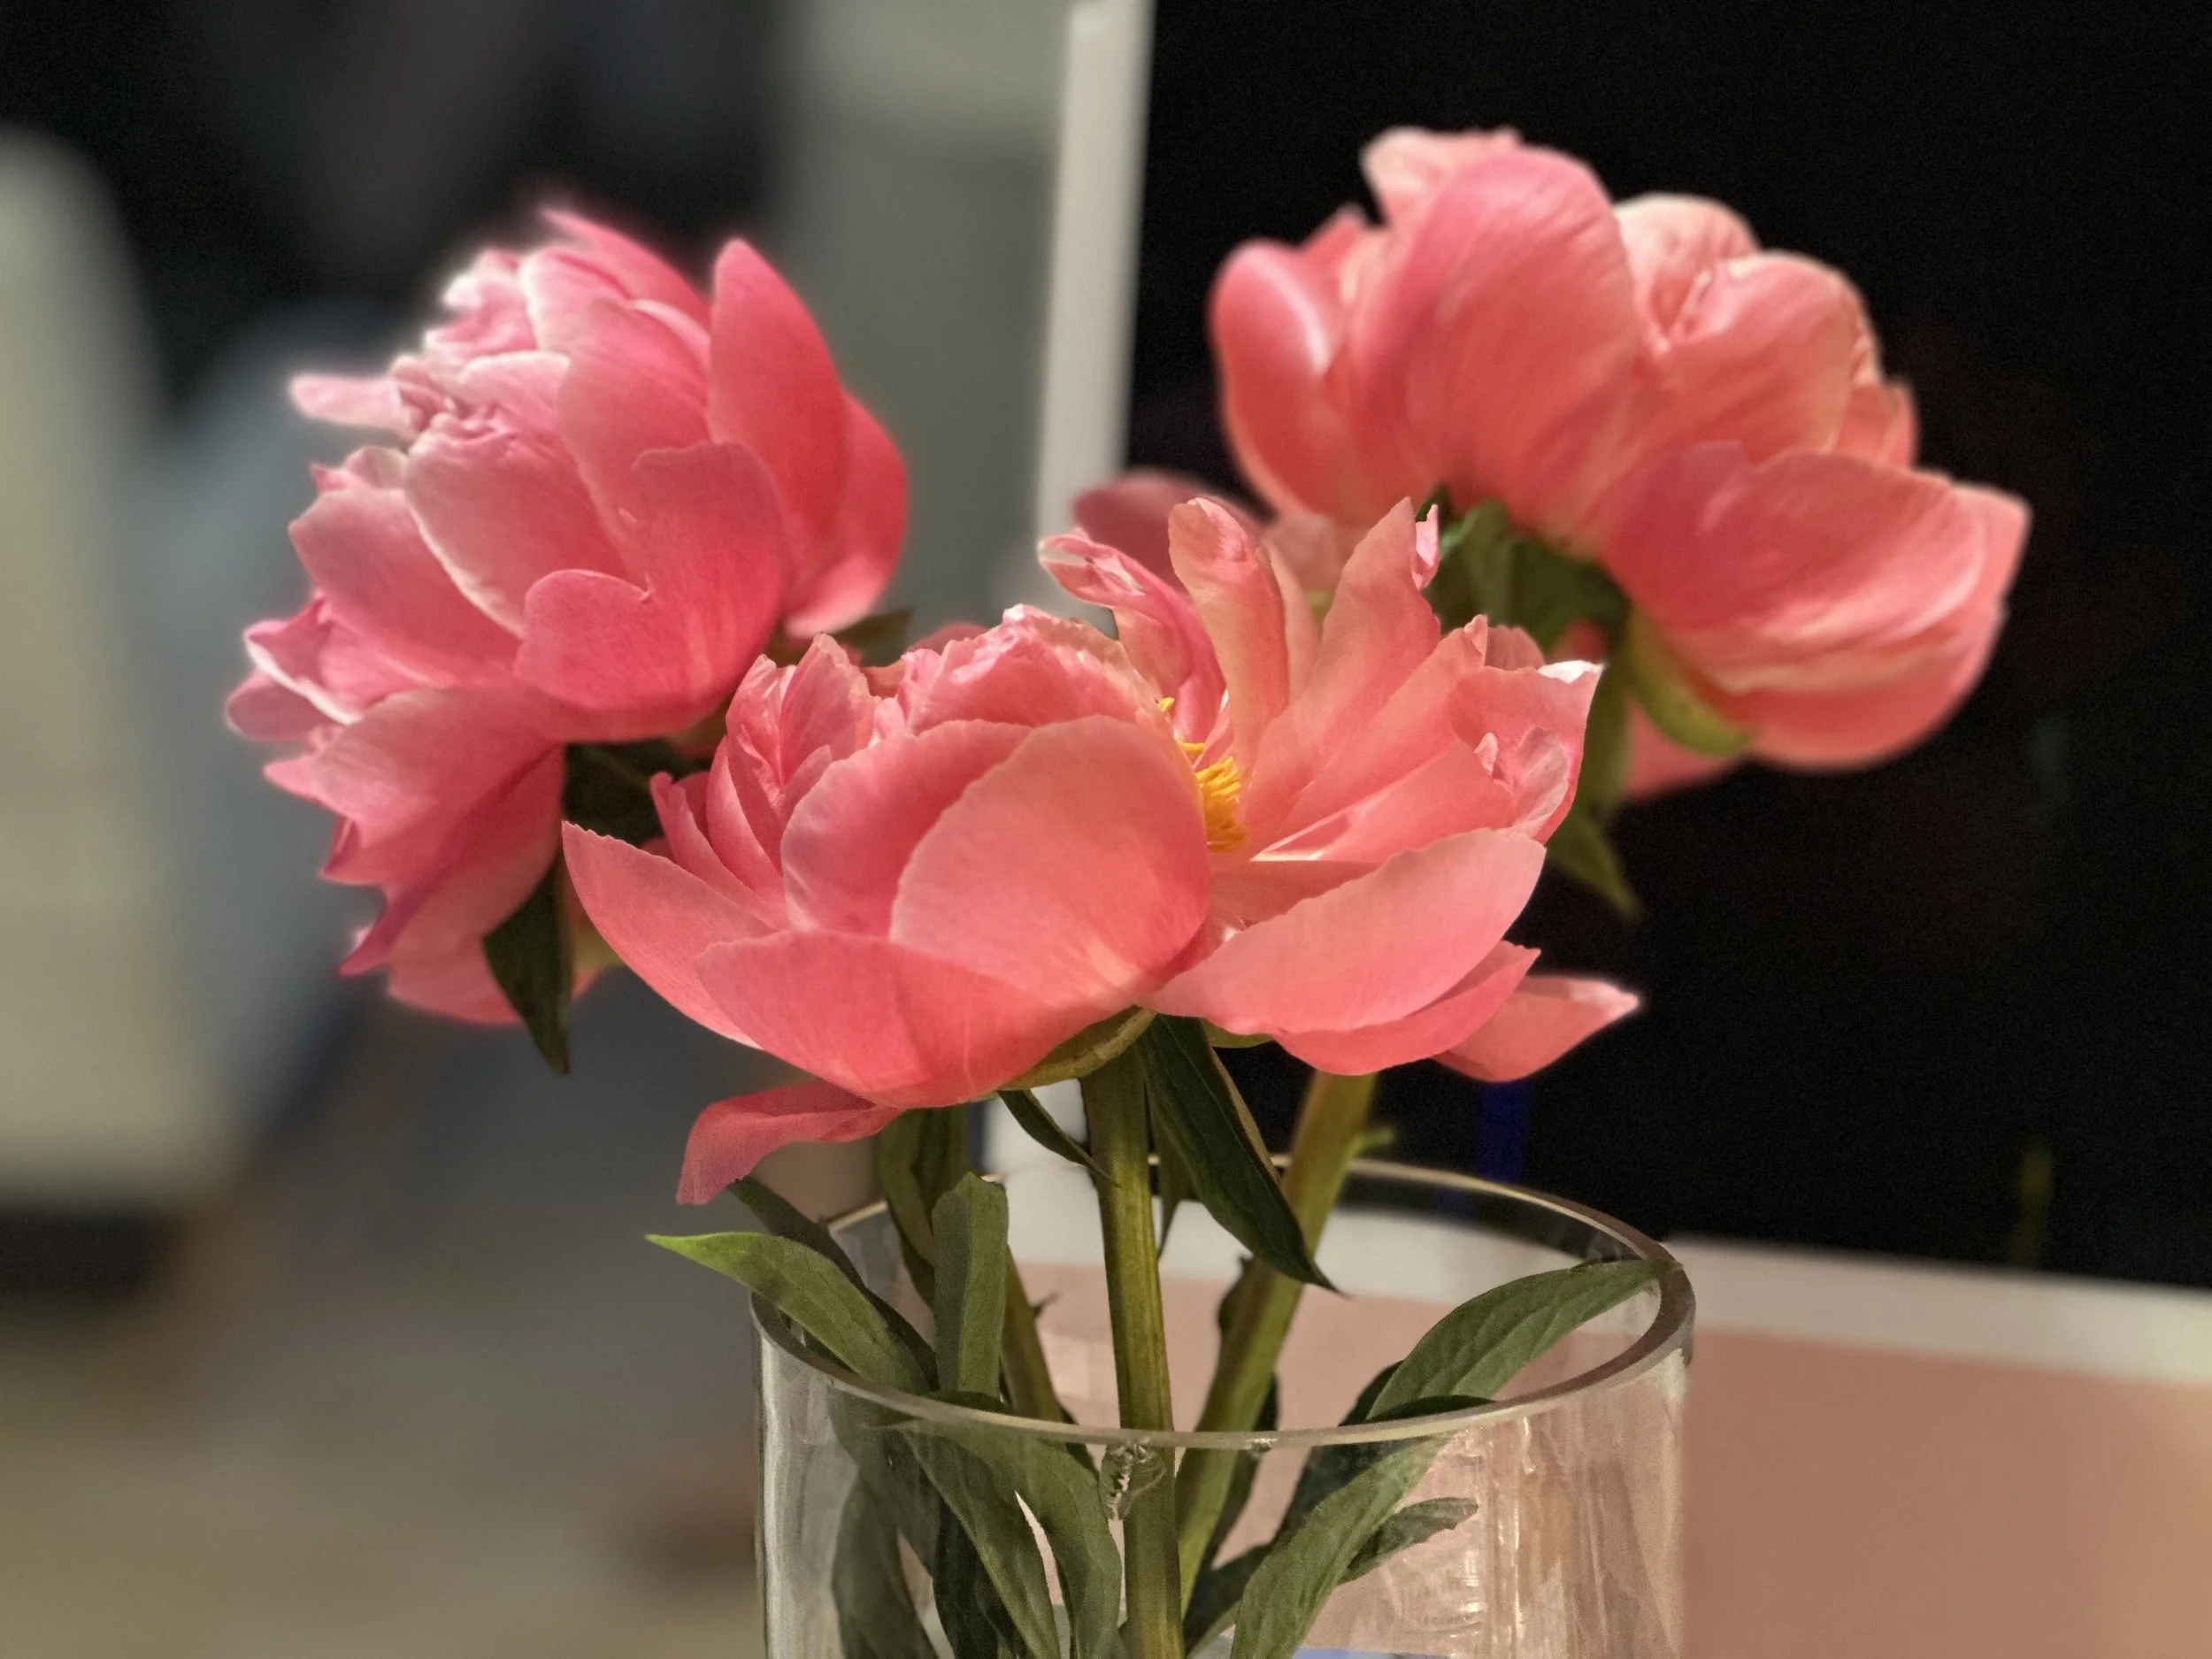
Source photo or bouquet
Watercolor paper (ideally heavyweight and cold-pressed)
Watercolor paints (I use Daniel Smith and Schmincke)
Watercolor brushes (a variety of sizes, including a fine tip for details) Very small watercolor brushes for painting detail and veins in leaves while glazing. Raphael 3/0 Brush is my favorite for painting petals.
Water containers (for rinsing brushes) I use a few mason jars.
Paper towels (for blotting excess water)
Pencil and eraser (for sketching the outline) I recommend getting a soft pencil because you won’t want pencil lines in your painting. You’ll need to erase your construction lines prior to painting.
Step 2: Sketch the Peony
Begin by lightly sketching the outline of your peony onto the watercolor paper using a pencil. Start with a simple circular shape for the center of the flower, and then add petal shapes around it. Don't worry about making it perfect; the sketch is just a guide for your painting.
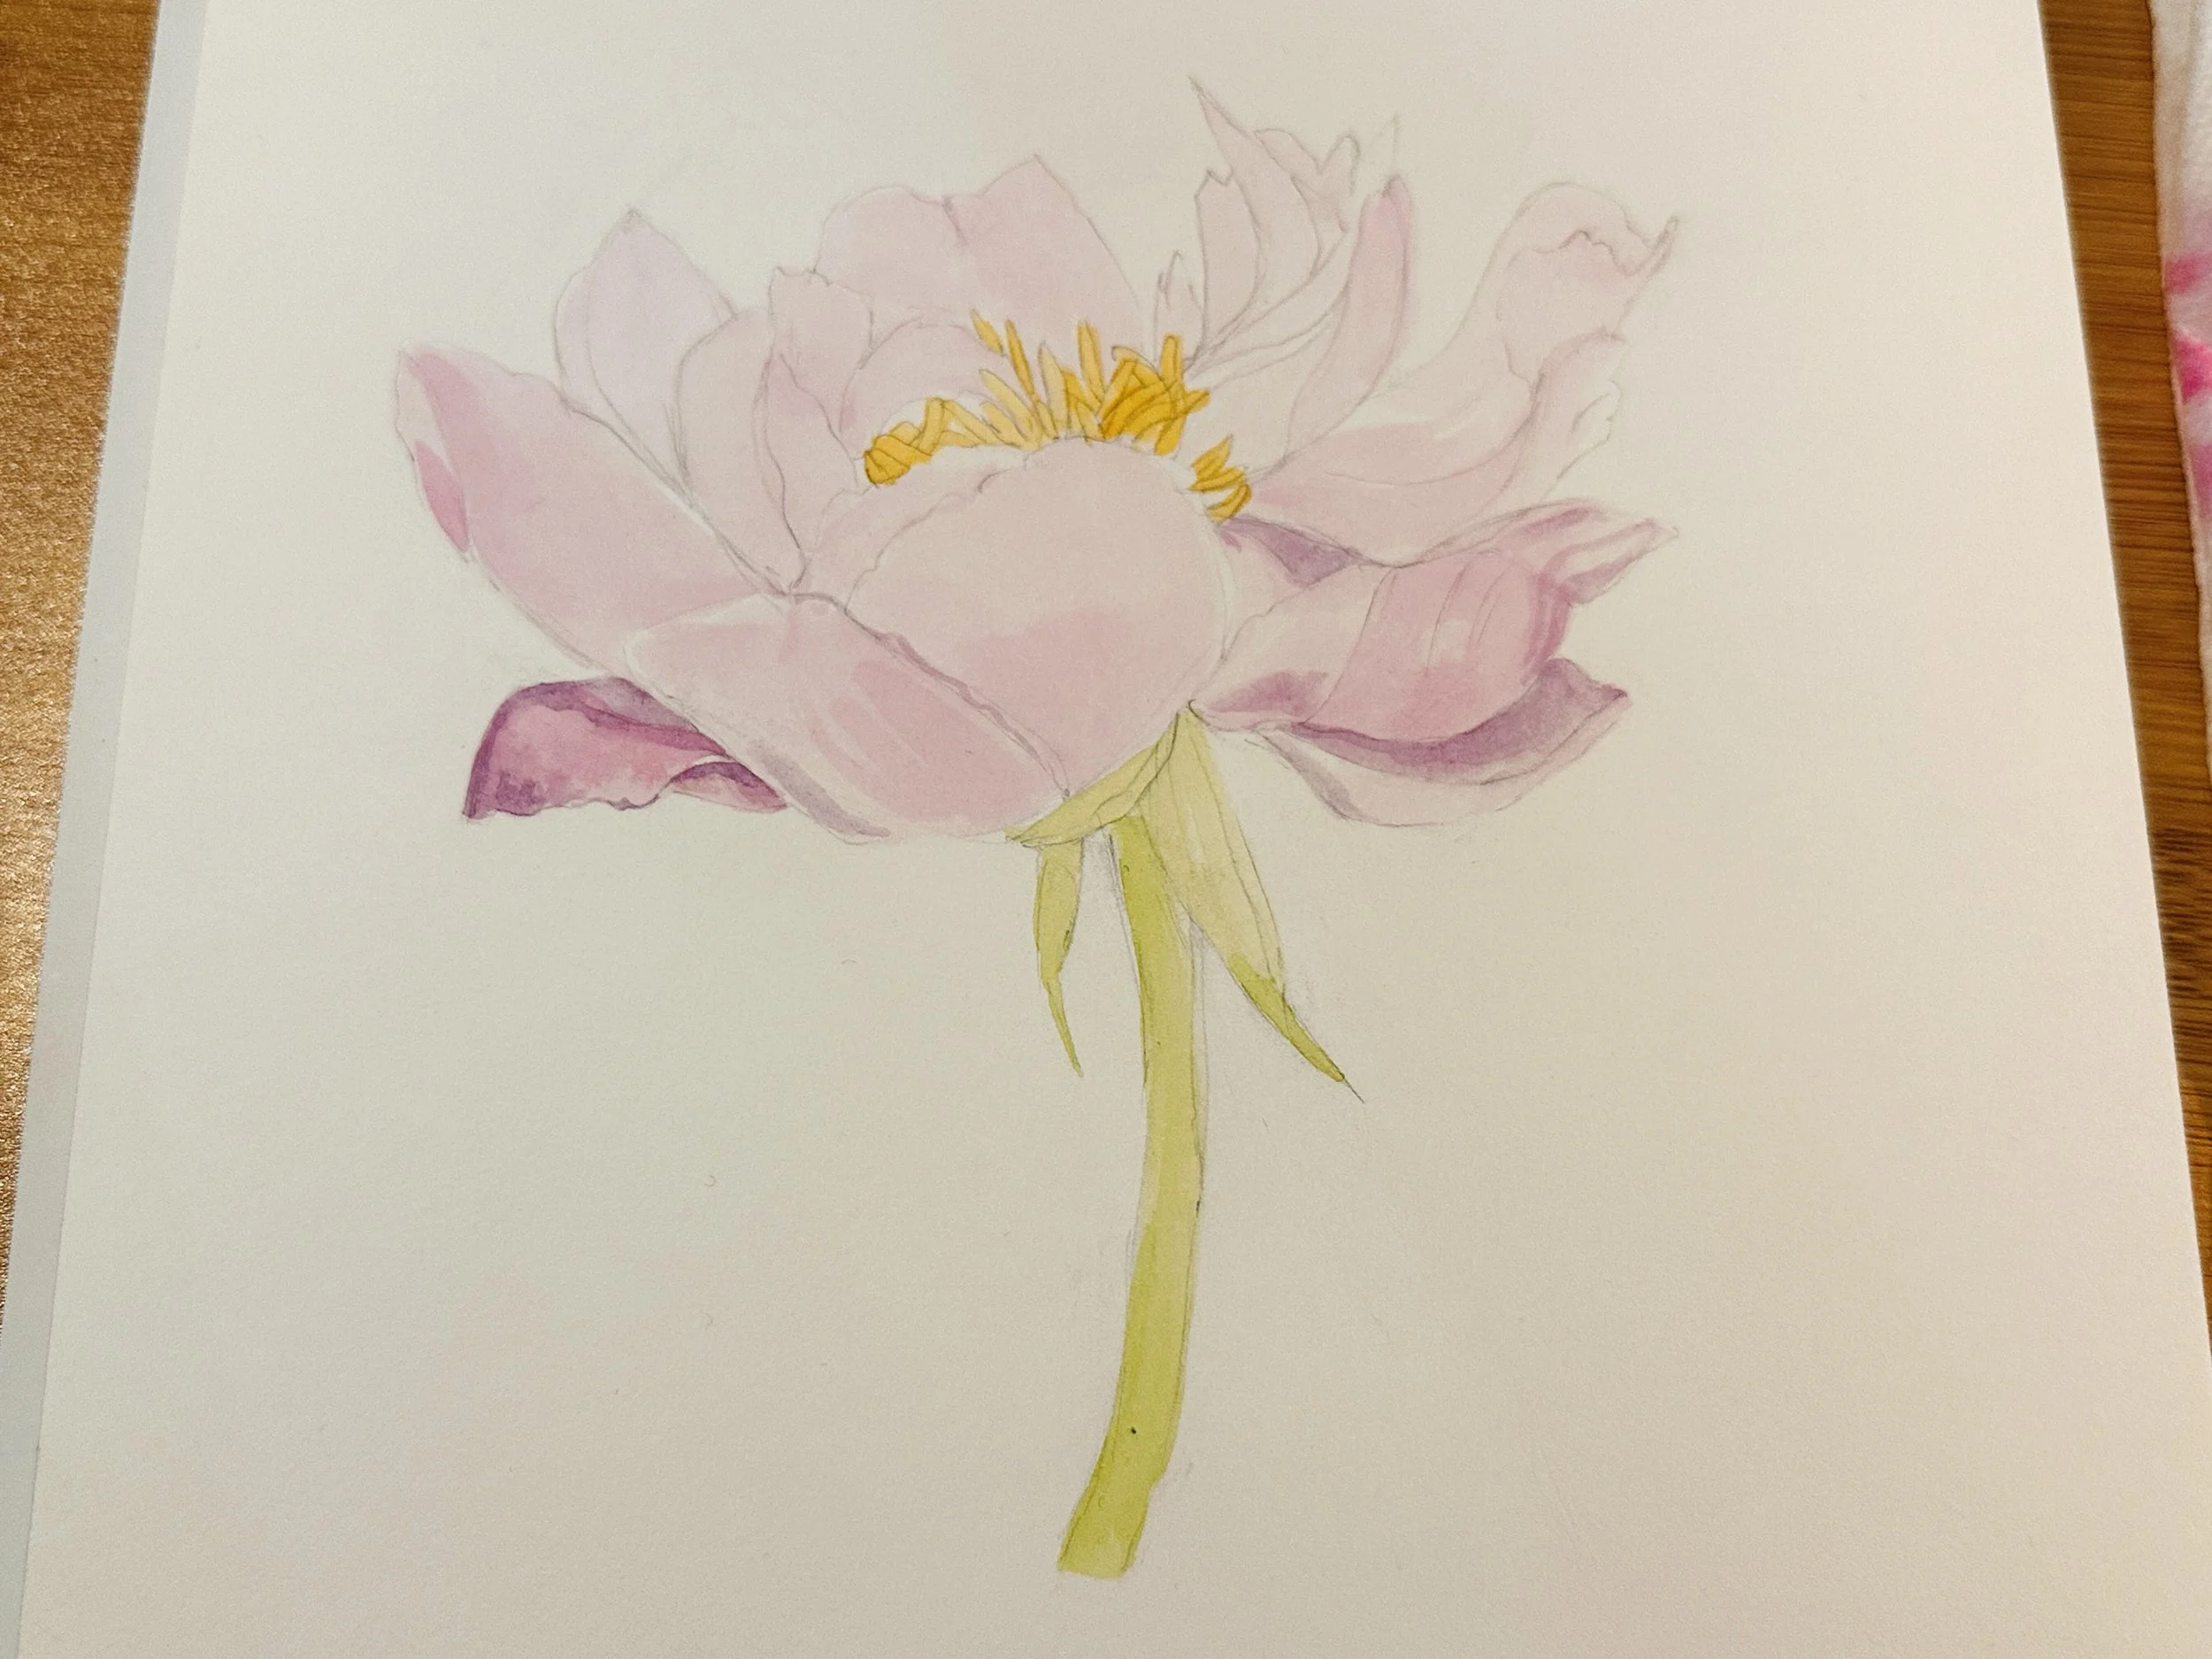
Step 3: Paint the Center
Using a small round brush and a mixture of yellow and brown paint, start painting the center of the peony. Apply the paint in a circular motion, leaving some white space to represent highlights.
Step 4: Add the Petals With a larger brush
Start painting the petals of the peony using various shades of Quinacridone and phthalo blue. Start with the petals closest to the center, gradually working your way outward. Fill the whole petal with water and then add pigment using long strokes where you blend pigment across the petal.
Step 5: Build Layers
When we talk about building layers in watercolor painting, we are referring to glazing. Glazing is the process of painting one layer, letting it dry, and then painting another layer on top of it. Botanical paintings can have hundreds of layers and require hours of painting to complete. They look simple at first, but one petal can take over an hour to paint depending on the complexity of the flower you are painting. Peonies have a lot of petals so they can take a long time to paint.
Step 6: Define the Details
Once you've painted the main body of the peony, use a fine-tipped brush to add details such as veins on the petals, stamens in the center, and subtle highlights and shadows. Pay attention to the natural curves and contours of the flower, adding depth and dimension where needed. I recommend identifying the darks so you can learn to mix petal colors based on cool shadows and warm areas of the petal. Botanicals are exceptionally challenging to paint because of the shift in color value between the petal color and the shadow between petals. There is also another factor - lighting. The way the light hits the petal and goes through it to produce the veins is something you should study. Doing a value study is a great way to figure out which areas of the flower are shadows and which are the lightest areas to paint.
Step 7: Paint the Leaves and Stem
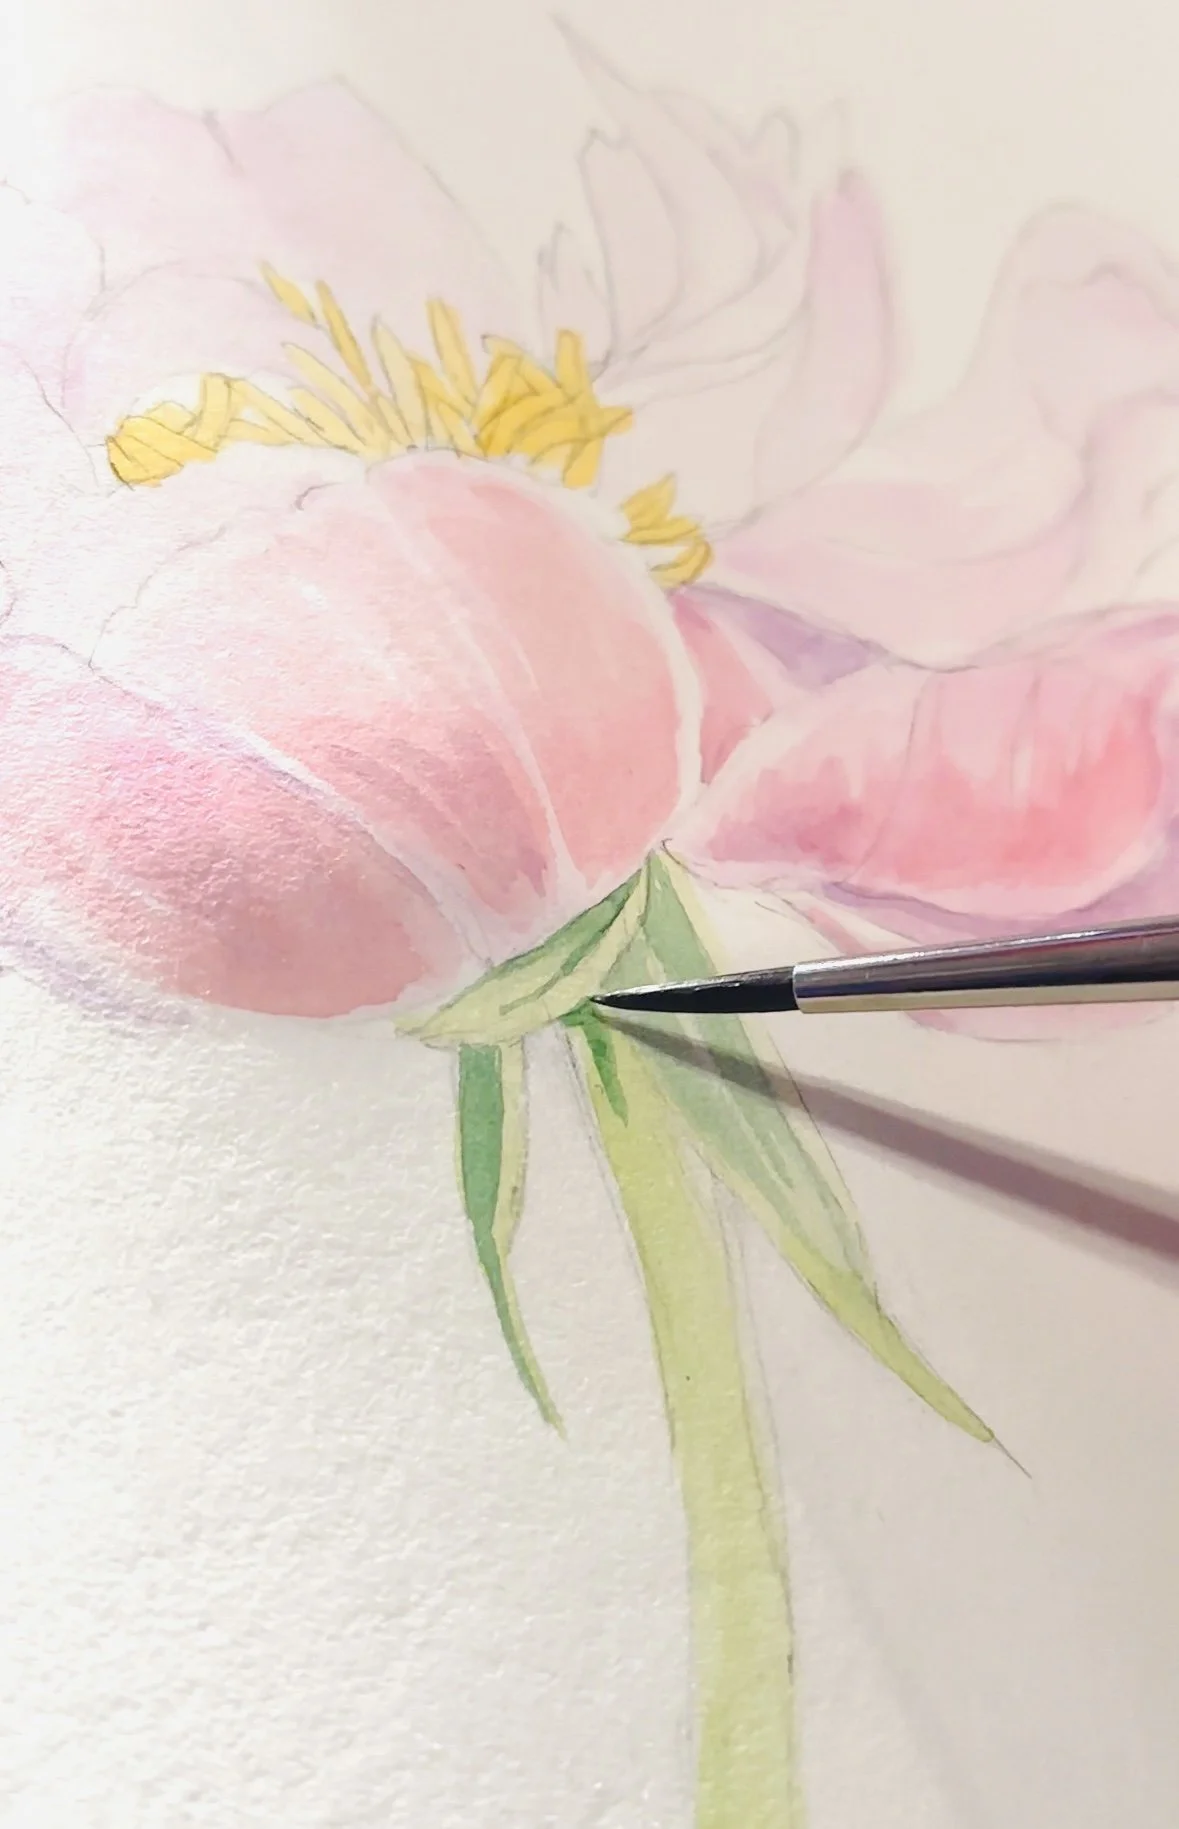
If you’re painting leaves and a stem, this is a great time to shift gears and work on the green areas of the painting. Stems use a touch of black (or you can mix your own black which is something I love to do). Start with a light wash of green as the base layer, then add darker shades to define the edges and veins of the leaves. I use a green color that a botanical master taught me provides a good green specifically for botanicals. Also, remember that objects are never purely green. Adding other values and colors will make your subject more interesting. There will be areas of the stem that appear yellow or blue. Remember to leave some white space for highlights and add touches of yellow or blue to create variation and interest.
Step 8: Final Touches
Once your painting is complete, take a step back and assess it for any final touches or adjustments. Maybe you need to darken some areas of the painting so you reach the darkest value or maybe you need to lighten an area to add interest. Blend with more water where needed.

Don’t get discouraged if your painting didn’t turn out how you wanted it to! It takes years to master painting flowers. I’ve taken several botanical painting courses with botanical masters to learn which colors they use to match a petal color exactly. I’ve spent more than a hundred hours learning how to paint leaves and stems. Your knowledge will grow with time and practice. Botanical painting is one of those arts that requires special techniques that you can only learn from another artist.
You can download the sketch here to practice painting petals. Check out my Youtube channel for more live content, demonstrations, and weekly art vlogs.